
I have introduced you to the Mother Bear Project before. It’s a cause close to my heart and I regularly contribute by making bears. This is a brief description from their website of what they do:
“The Mother Bear Project is dedicated to providing comfort and hope to children affected by HIV/AIDS in emerging nations, by giving them a gift of love in the form of a hand-knit or crocheted bear.”
There are several ways to make bears. You can either crochet or knit them. You can make them flat or in the round. There’s a pattern for each of these options here. I have made several by knitting in the round, I have made a lot by crocheting in the round and, more recently, I’ve been knitting flat ones, using the sewing while knitting technique from Mei. I love this method because it means I can knit garter stitch and still avoid sewing, which I really dislike. I love the look and feel of the garter stitch bears but I don’t enjoy knitting it in the round, so this is the best of both worlds for me.
We always have technical discussions in the Ravelry Mother Bear Project group and, recently, we were discussing making the arms without leaving an opening. I said that I would take pictures of the process when making my next bear. This is what I did and I also took pictures of all the process of making a bear, from beginning to end. So, I thought I would blog about it in the hope that it might help someone. Here it is…
Using the pattern, I knit the first half (look, my dress matches the bear!)
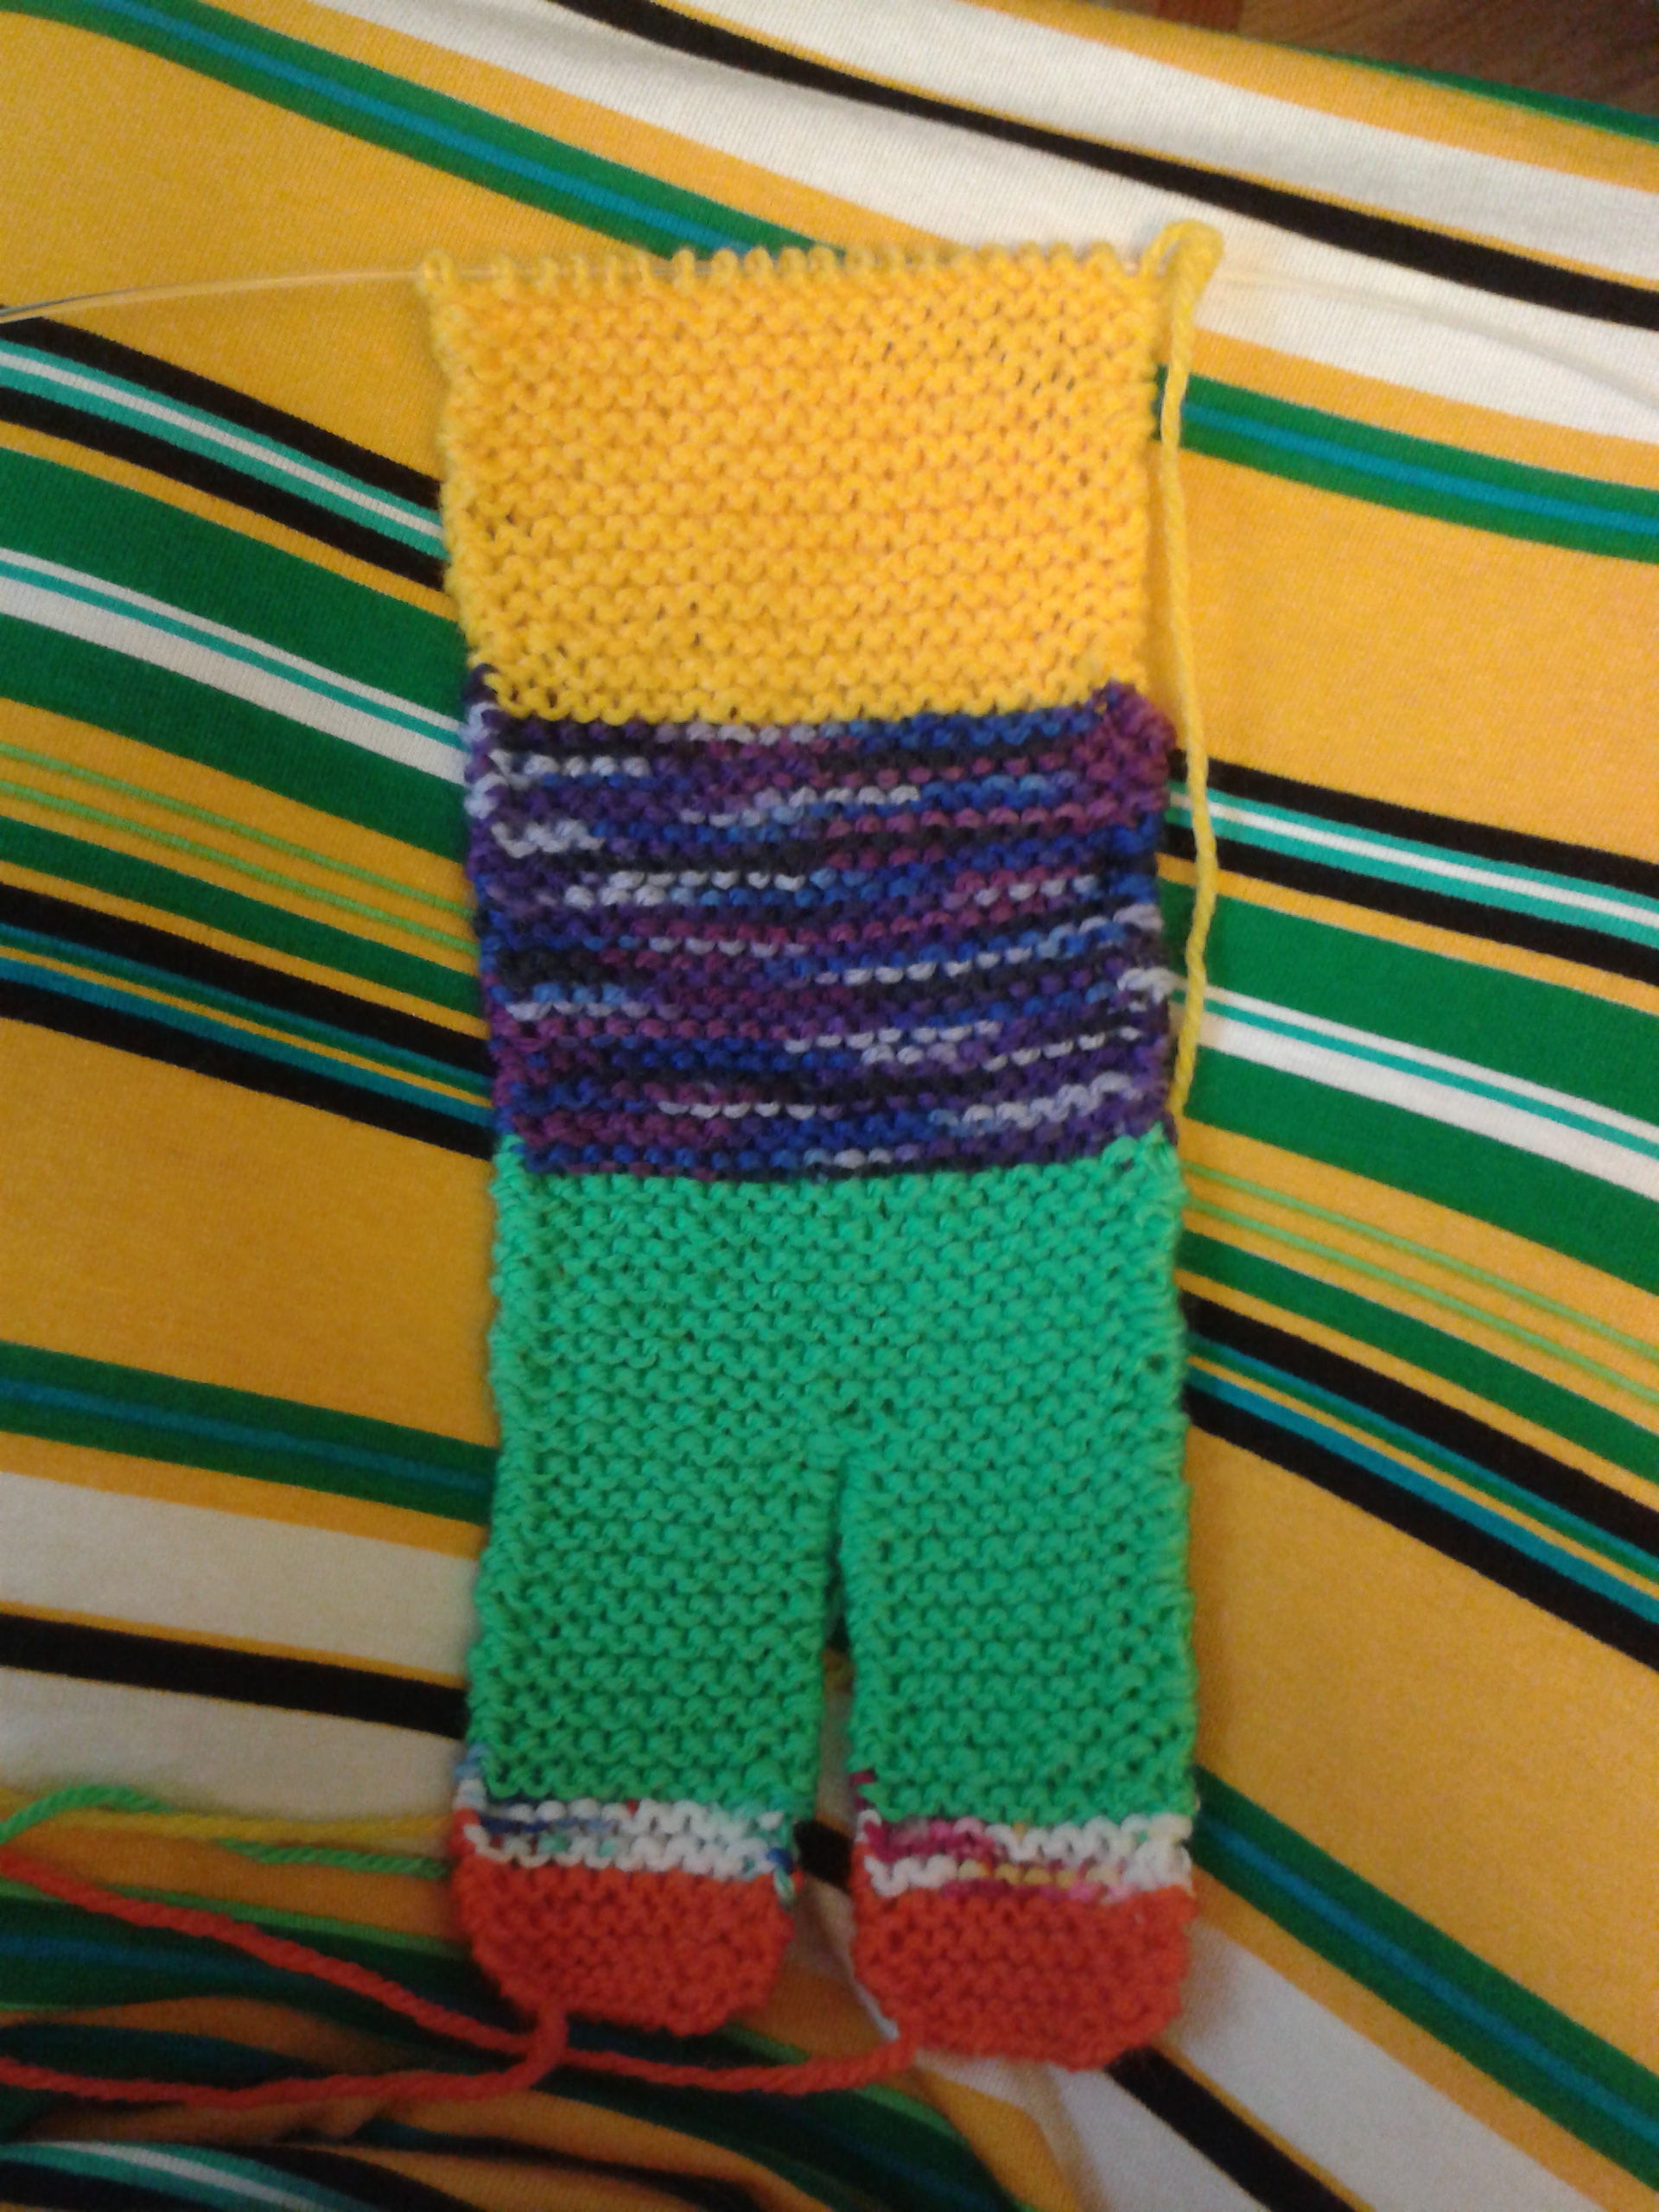
At that point I use Mei’s technique mentioned above to continue the other side and sew as I go. I do that until I’m ready to divide for the legs and then stuff the top part of the bear. I find it easier to stuff as I go along to get the right shape.
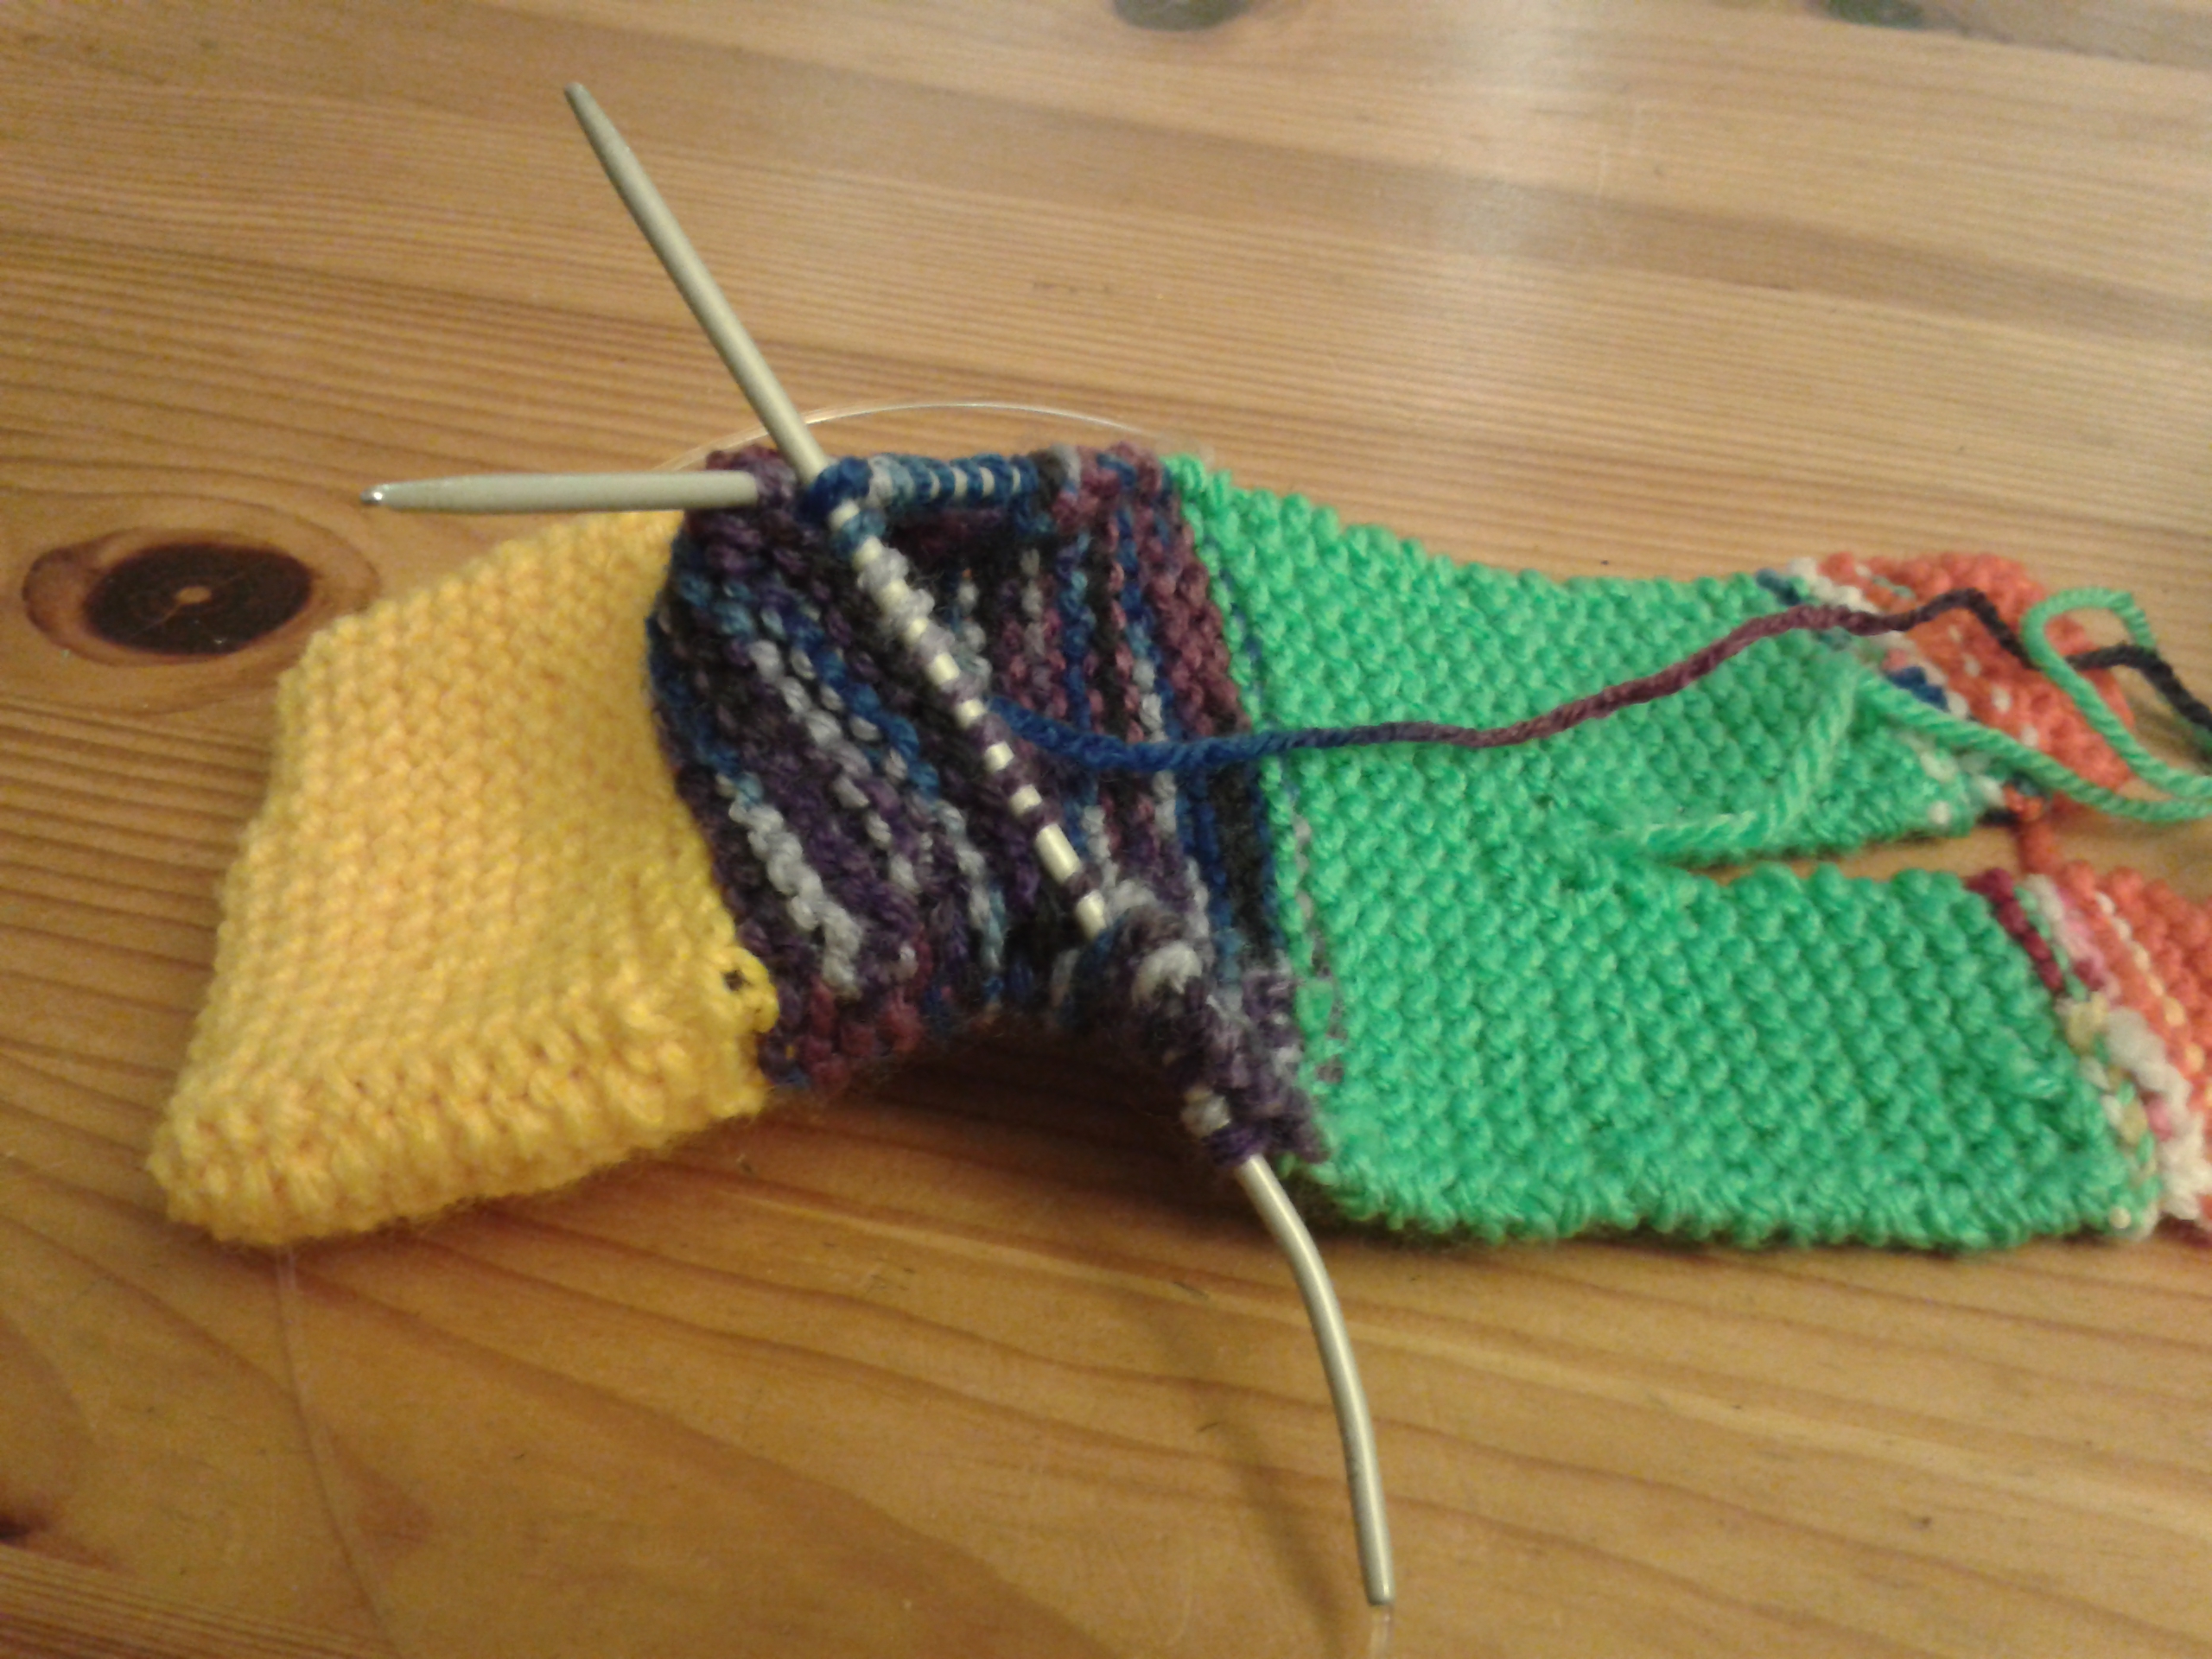
Here you can see the top part stuffed and one of the legs finished.

When both legs are finished, I stuff them and sew them shut. I always mean to start the legs with a provisional cast on to Kitchener stitch them closed but always seem to forget in my haste to cast on a new bear! I also use the cast off tail from the first leg to sew the small opening between the legs shut. So this is what the bear looks like before I start on the arms. The pattern calls for leaving an opening on the sides to make the arms, this is where it differs, I shut the sides off completely.

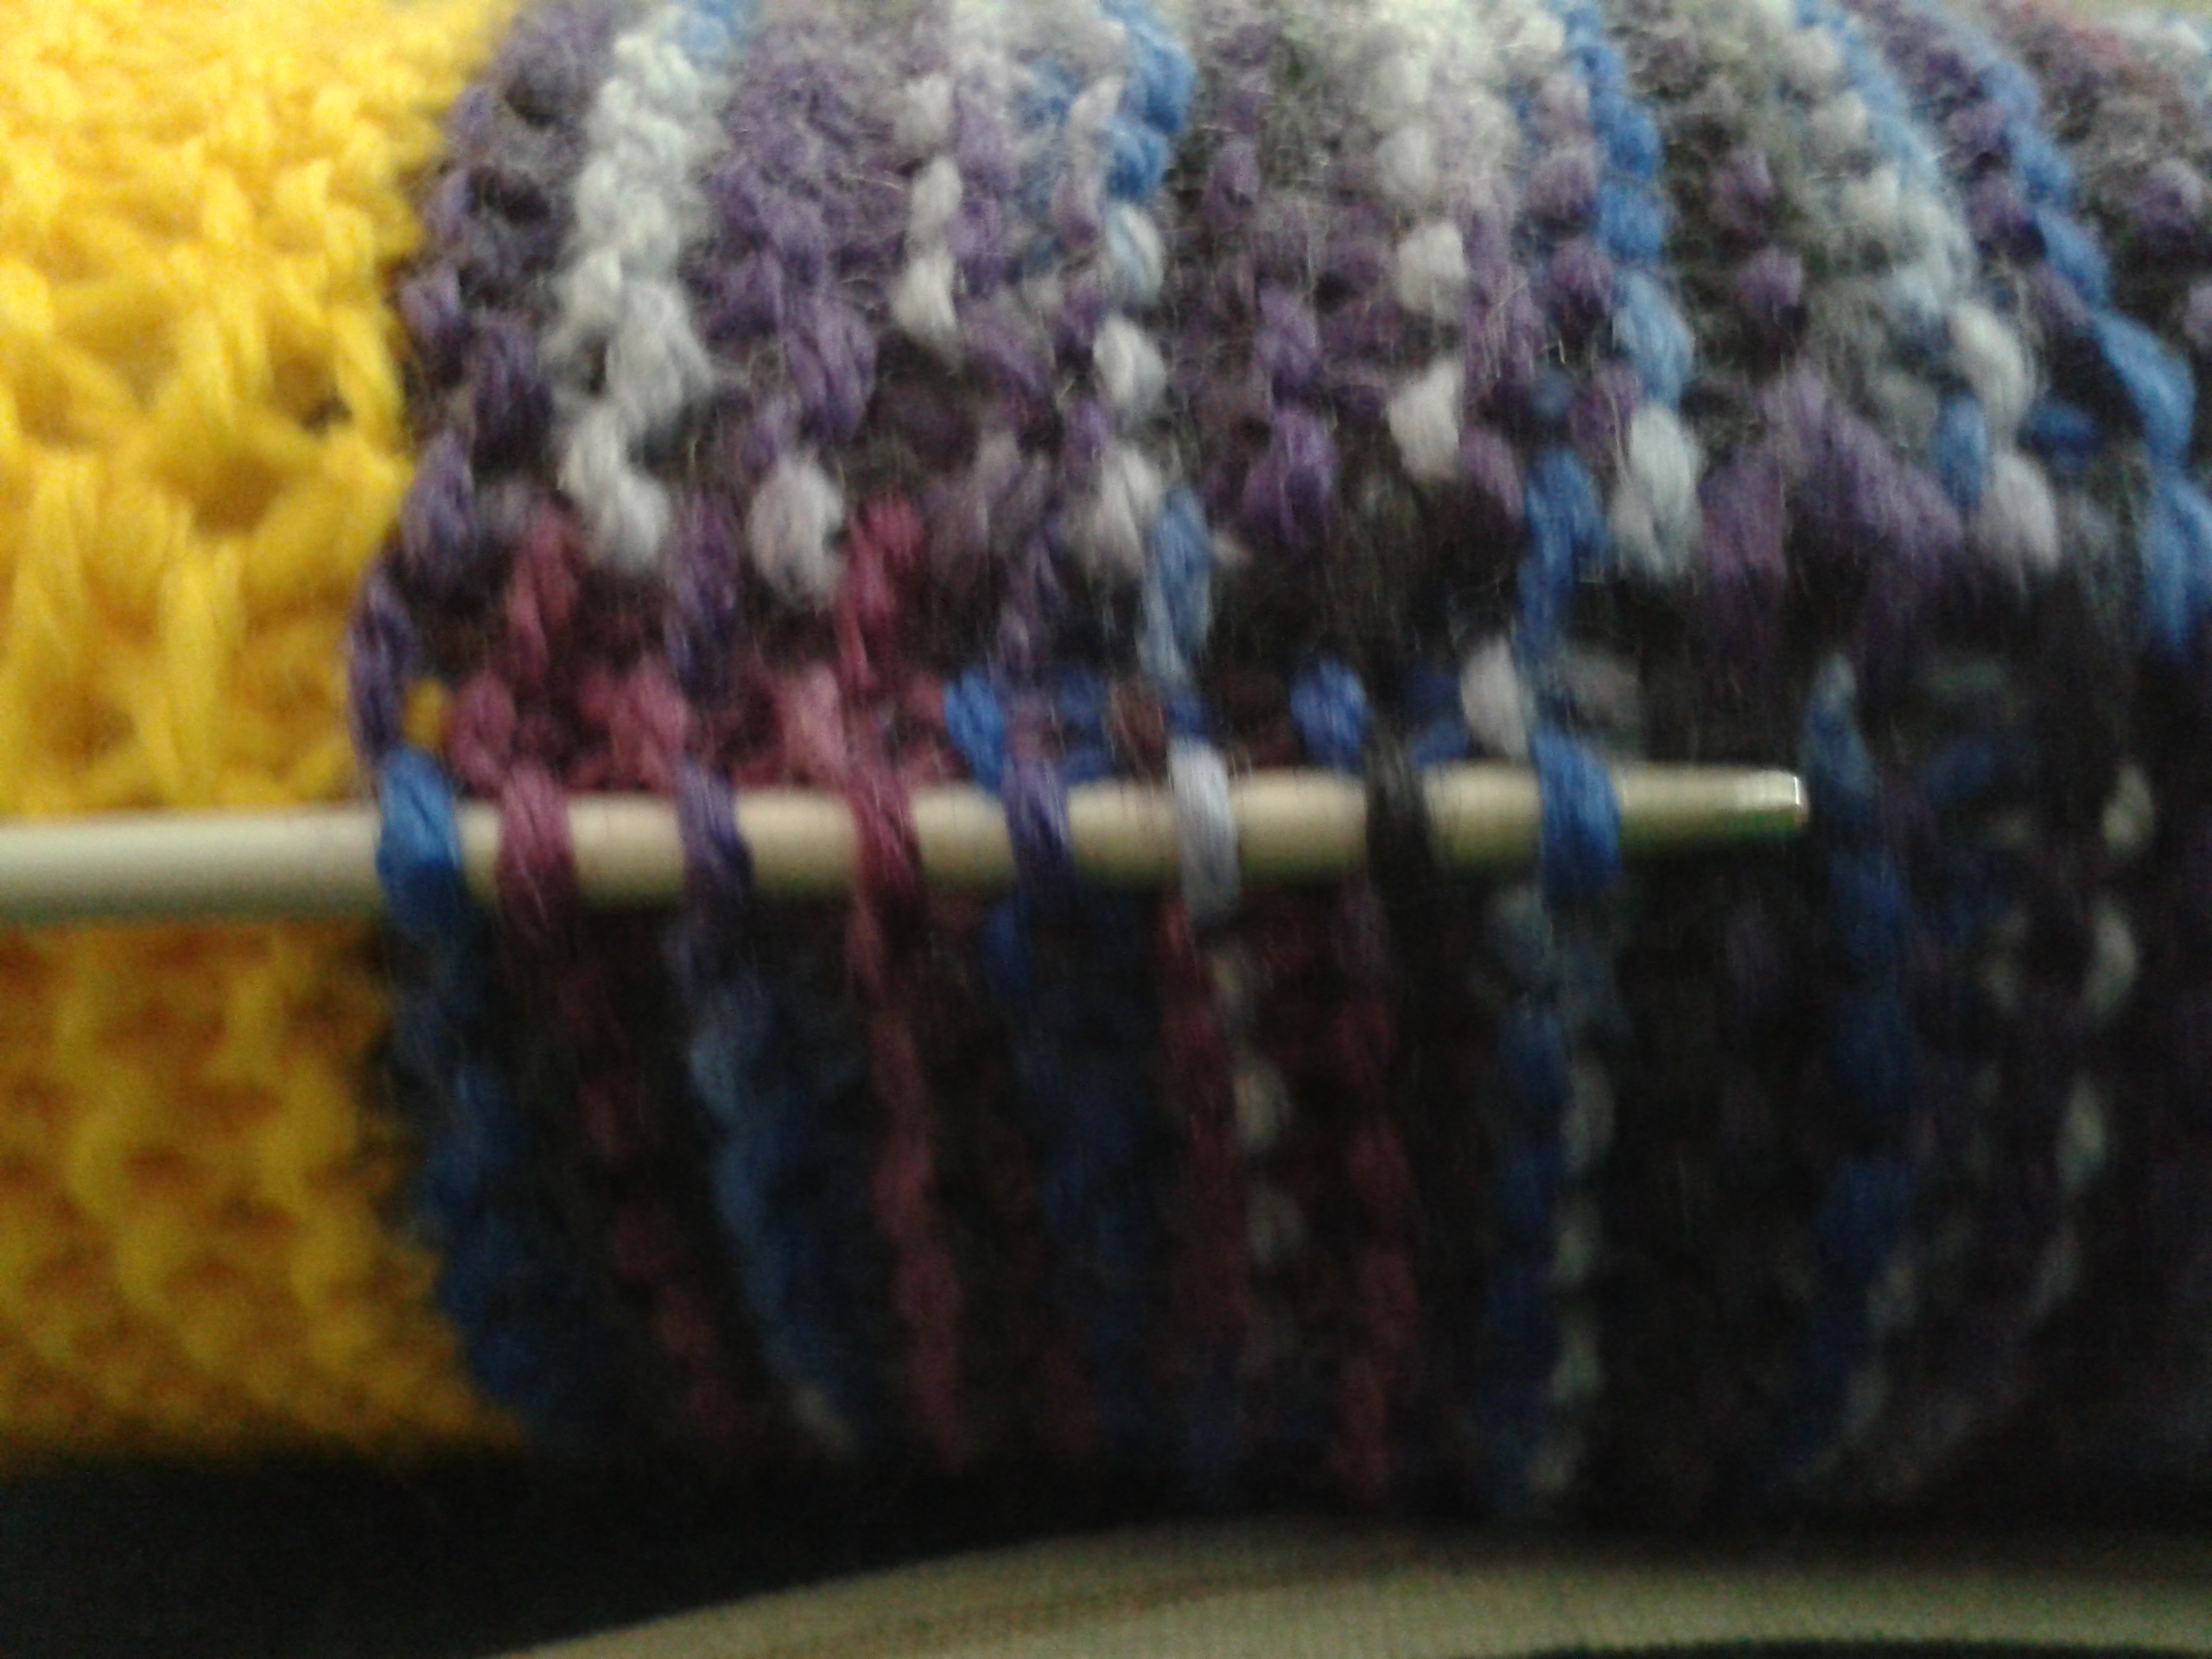
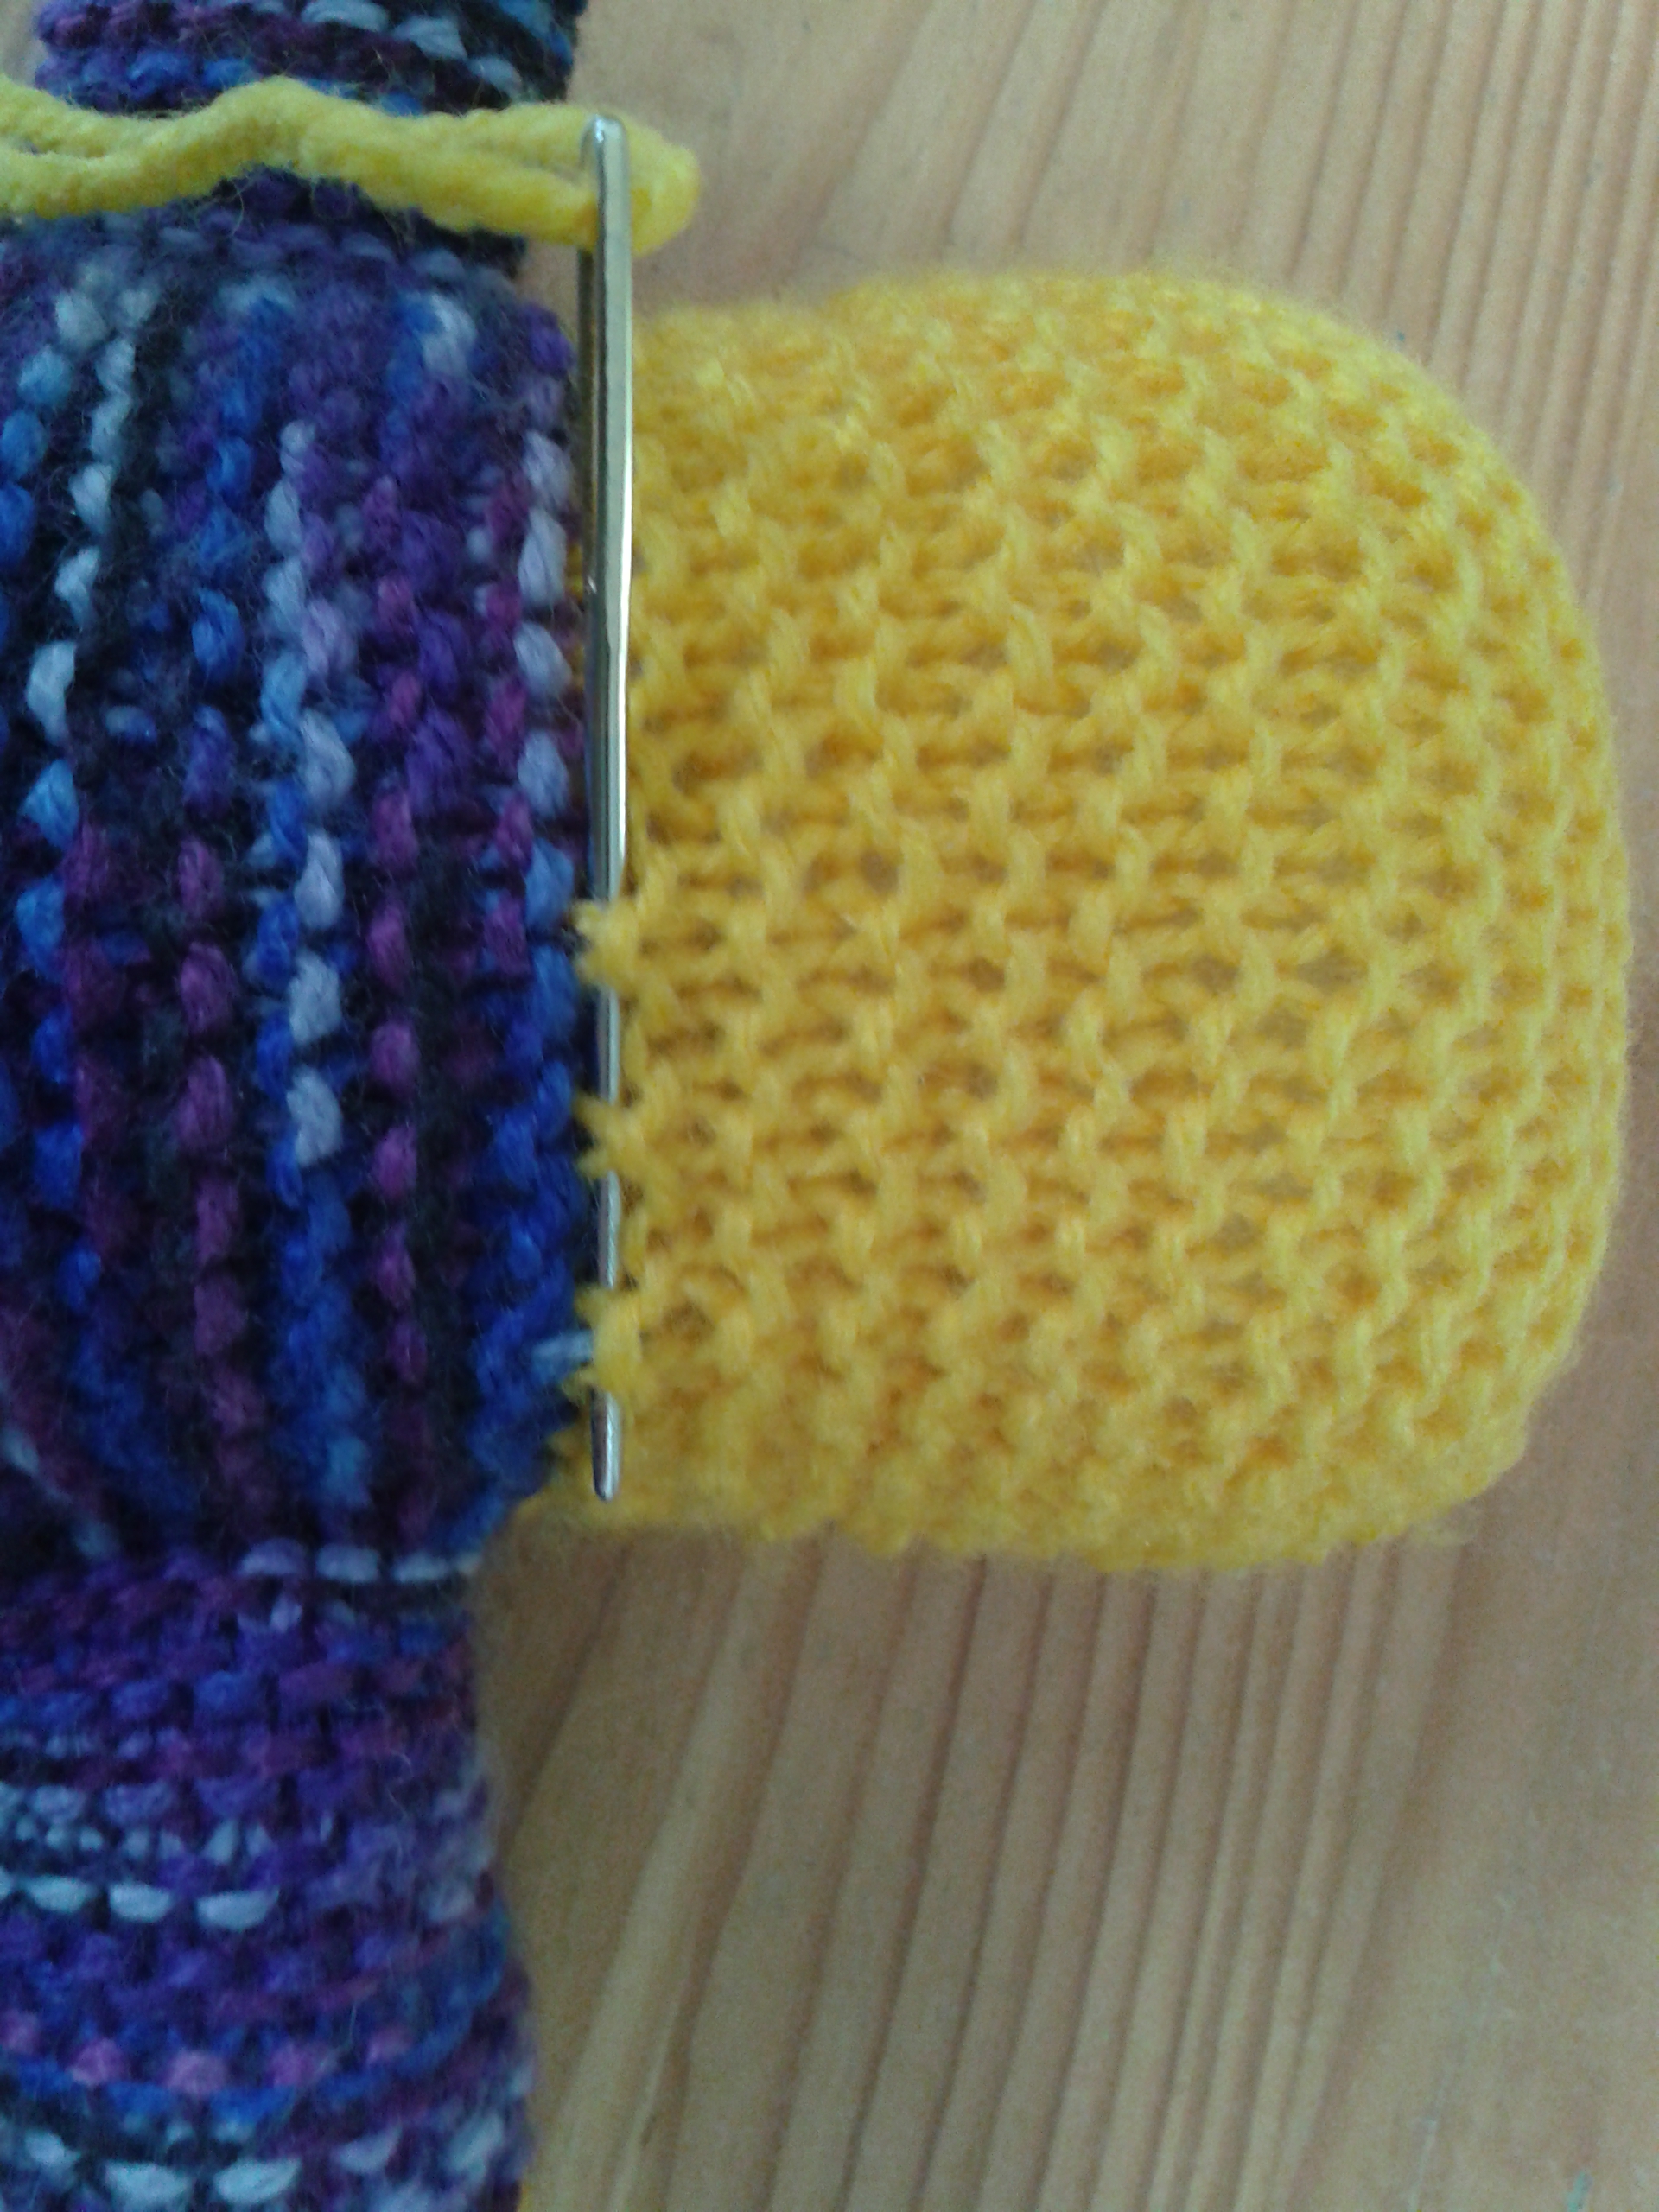
Here is how I pick up stitches directly onto the side of the body to make the arms. I pick up the purl bumps every second row for the desired amount of stitches, on each side of the body.

Here I am finished and ready to start knitting in the round. I use the magic loop technique but DPNs can be used just as well.

When I have finished knitting the arm, I stuff it and then close it using the Kitchener stitch.

Both arms done:

The biggest part of the work is now done. All that is left to do is to shape the head and the ears and to embroider the face. Here is how I do it.
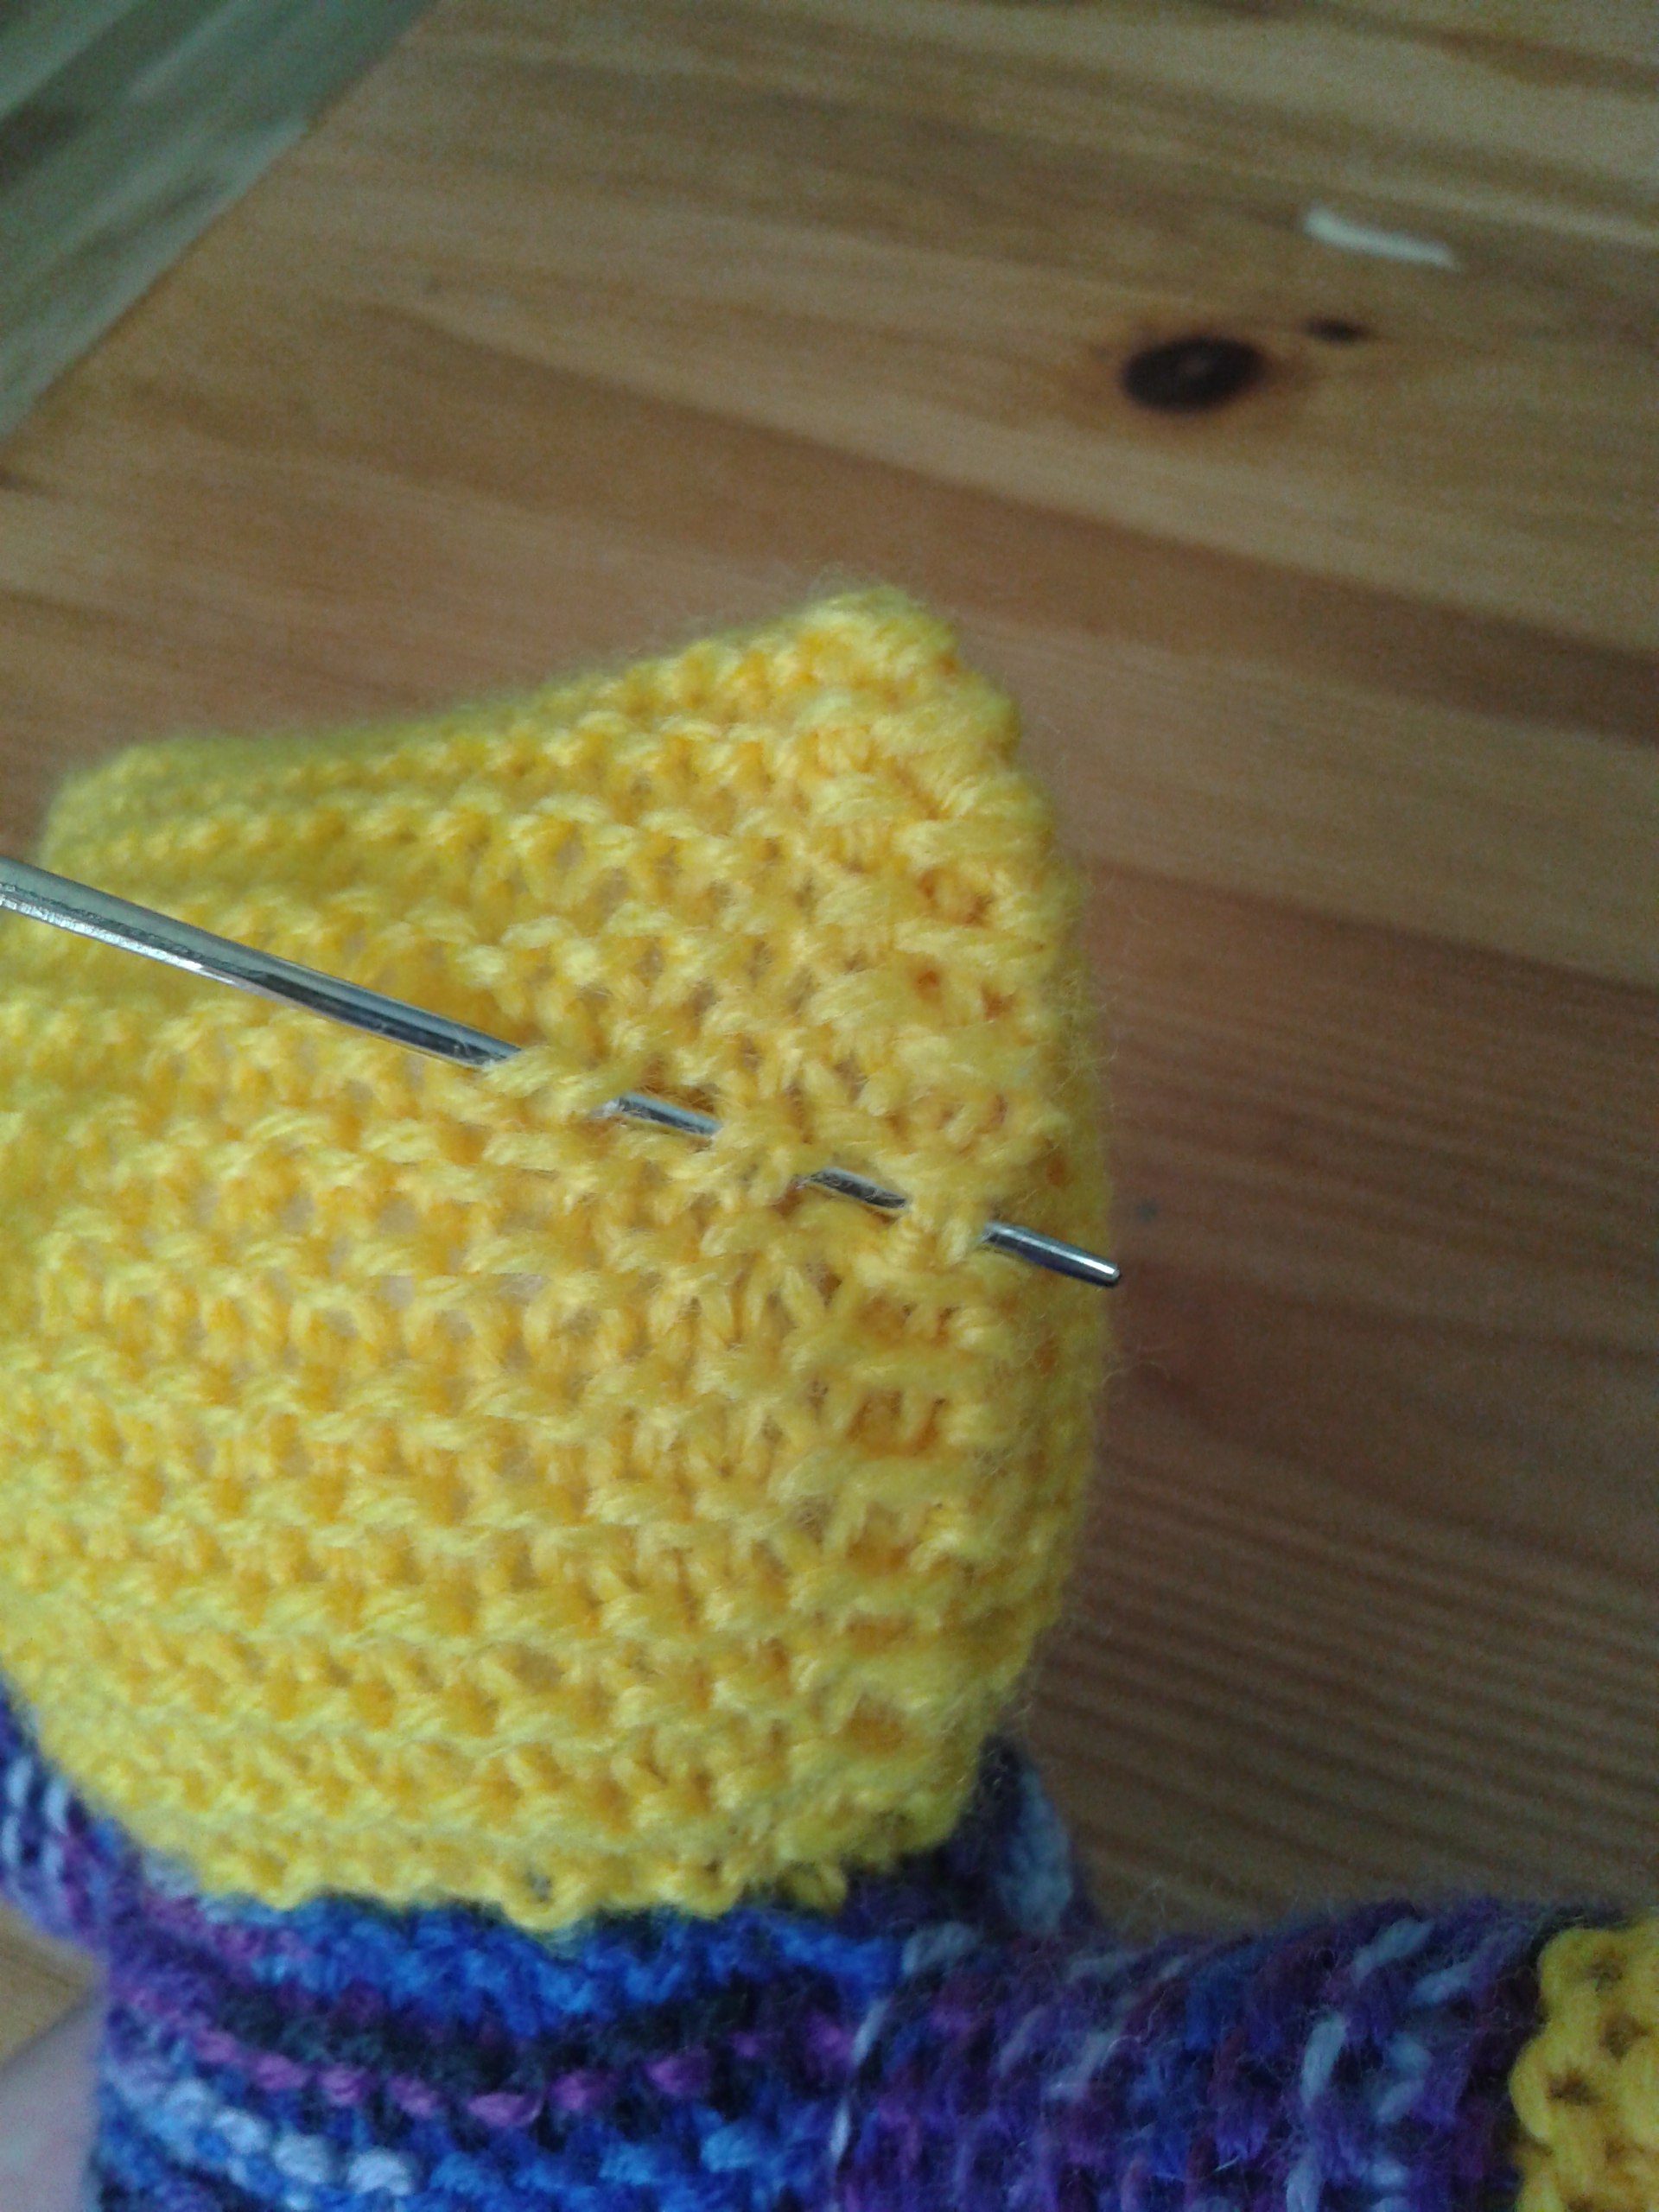
I use the same yarn as I knit the head with. I choose a gap in the middle at the back of the head. I thread the yarn with a needle as pictured all around.
And make sure I come out in the same gap as I started. When this is done, I tie a knot with both ends, pull tightly and make a double knot.

I then hide both ends inside the bear, they will be invisible that way.

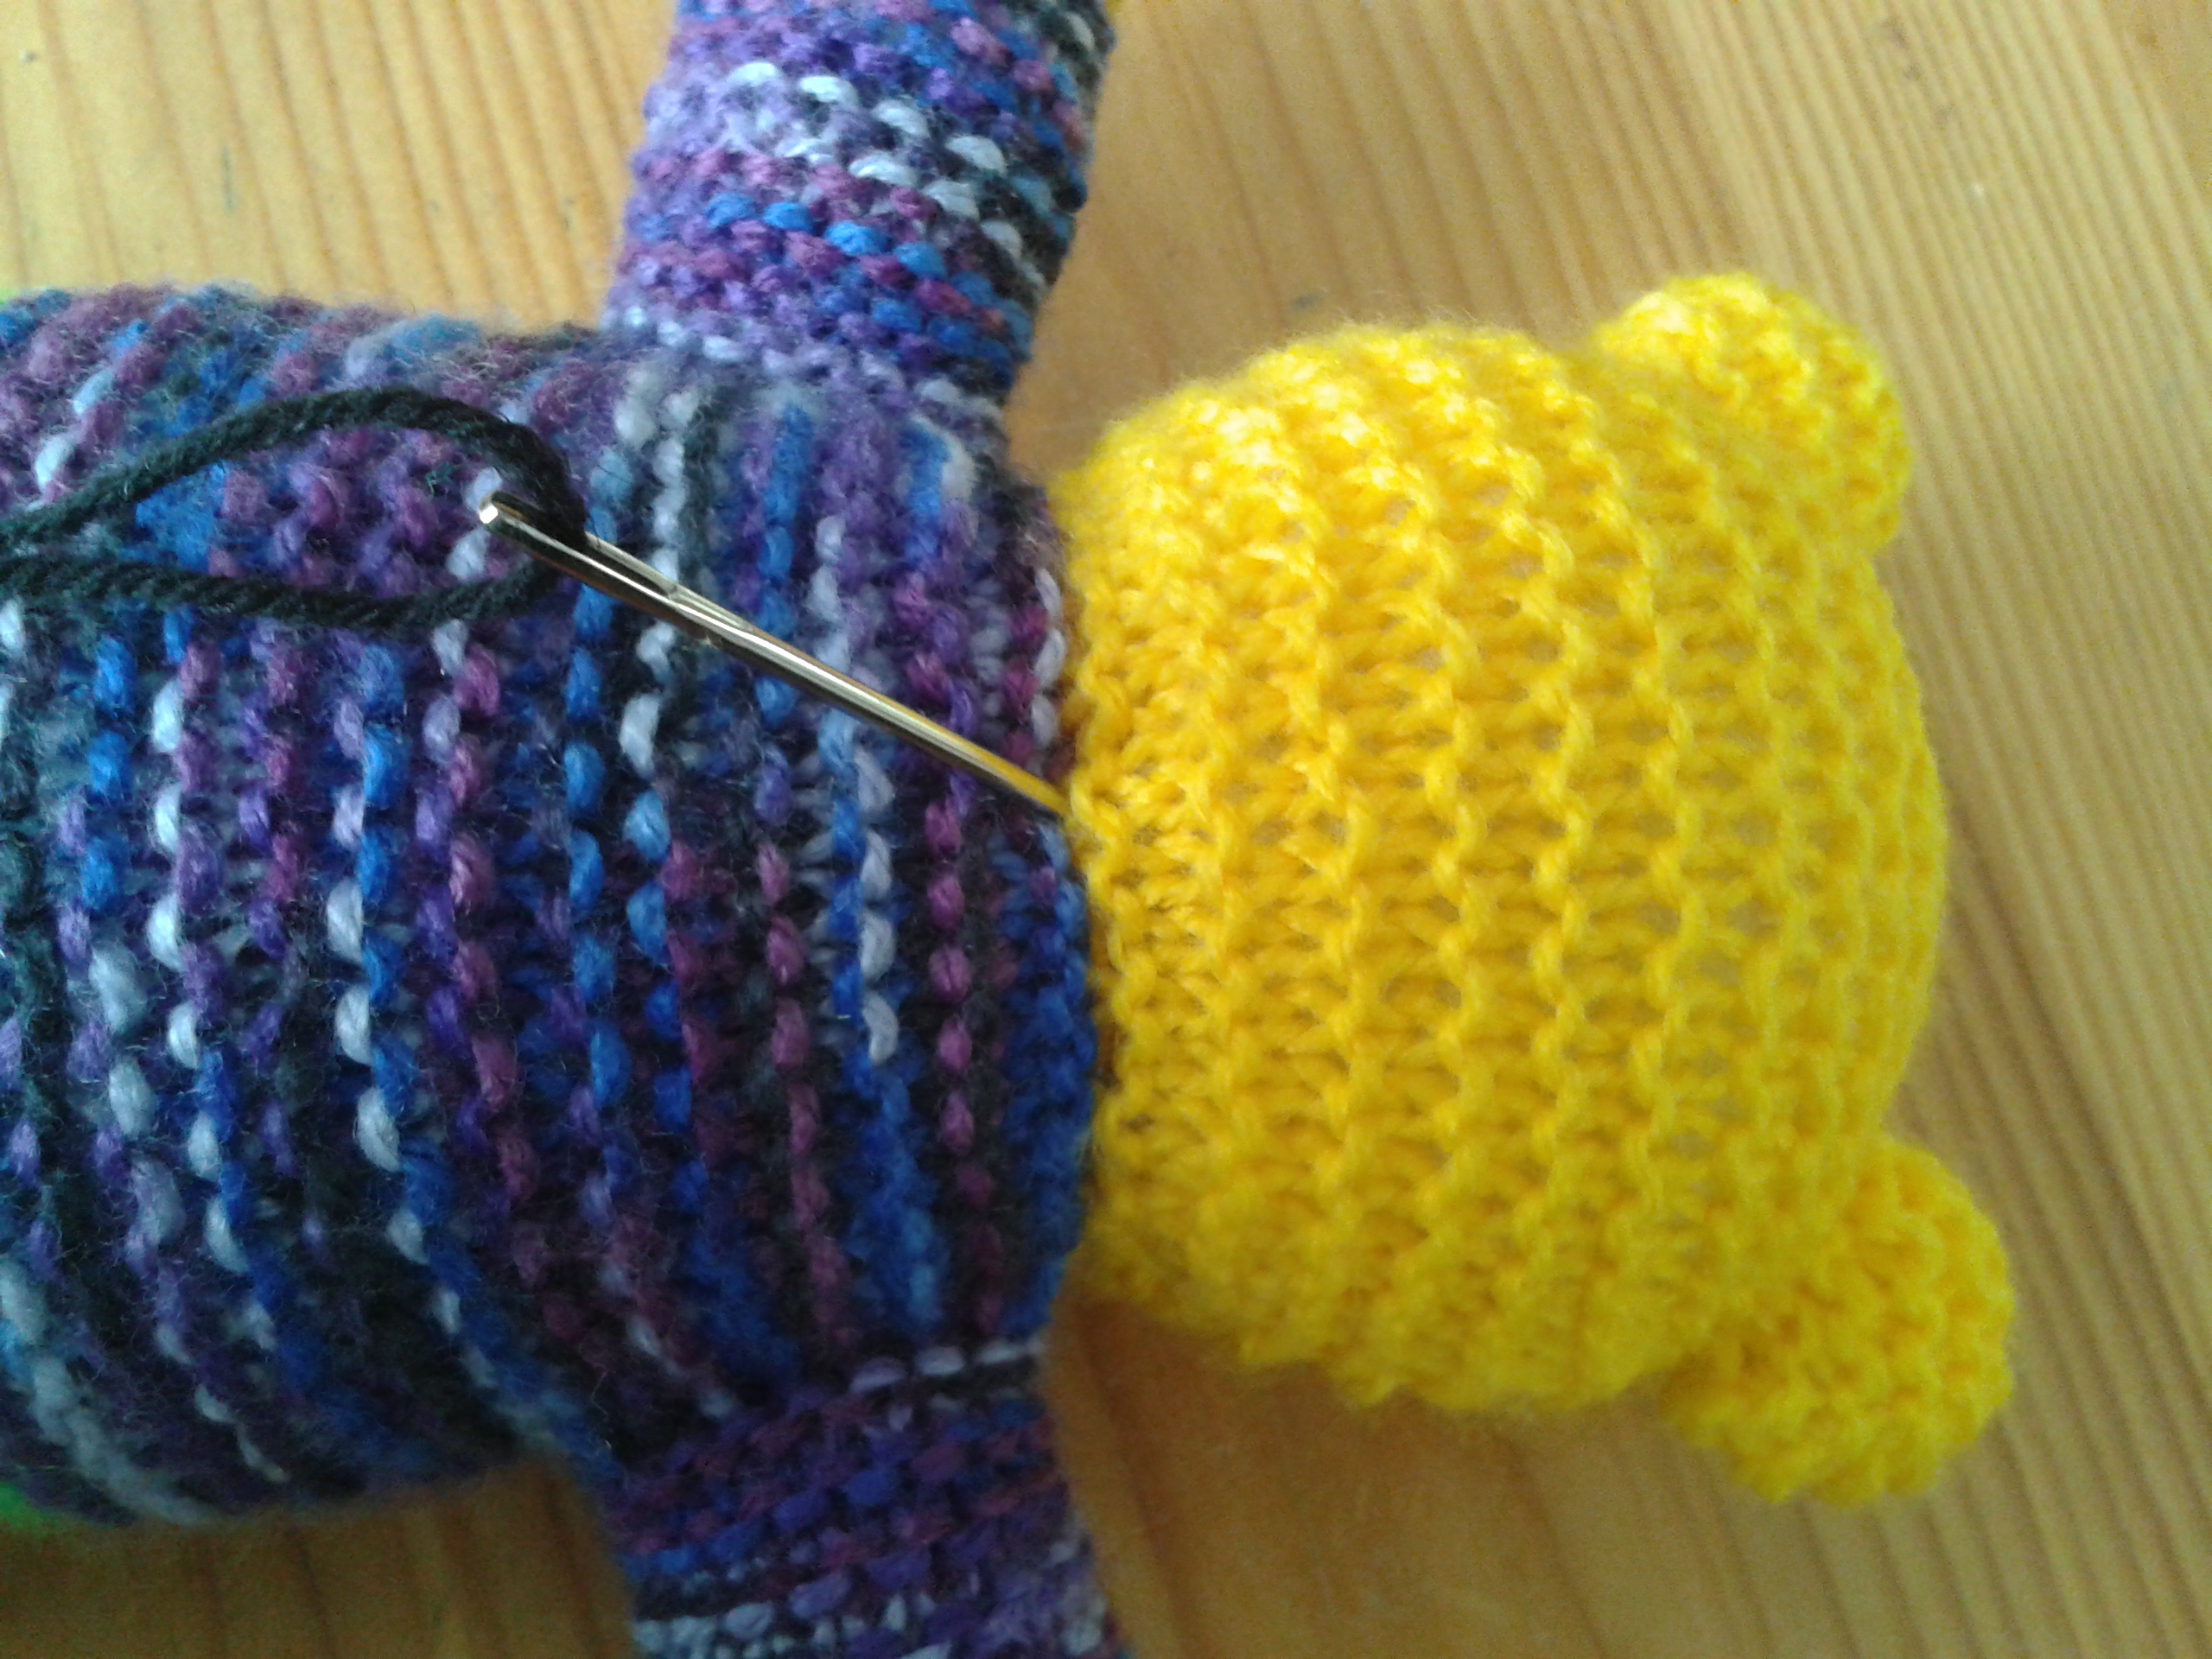
After that, I follow the exact same procedure to shape both ears, also starting at the back of the head. I also thread around and knot as for the head.
With head and ears shaped:

Now, what’s left is my biggest challenge, embroider the face! This bear was bear number 73 for me but, even after so many bears, the face is always challenging.
Below is the technique I use. I use a standard yarn for this, no embroidery floss as I find that too thin doesn’t work well. Make sure to take a nice length so you can finish the face.
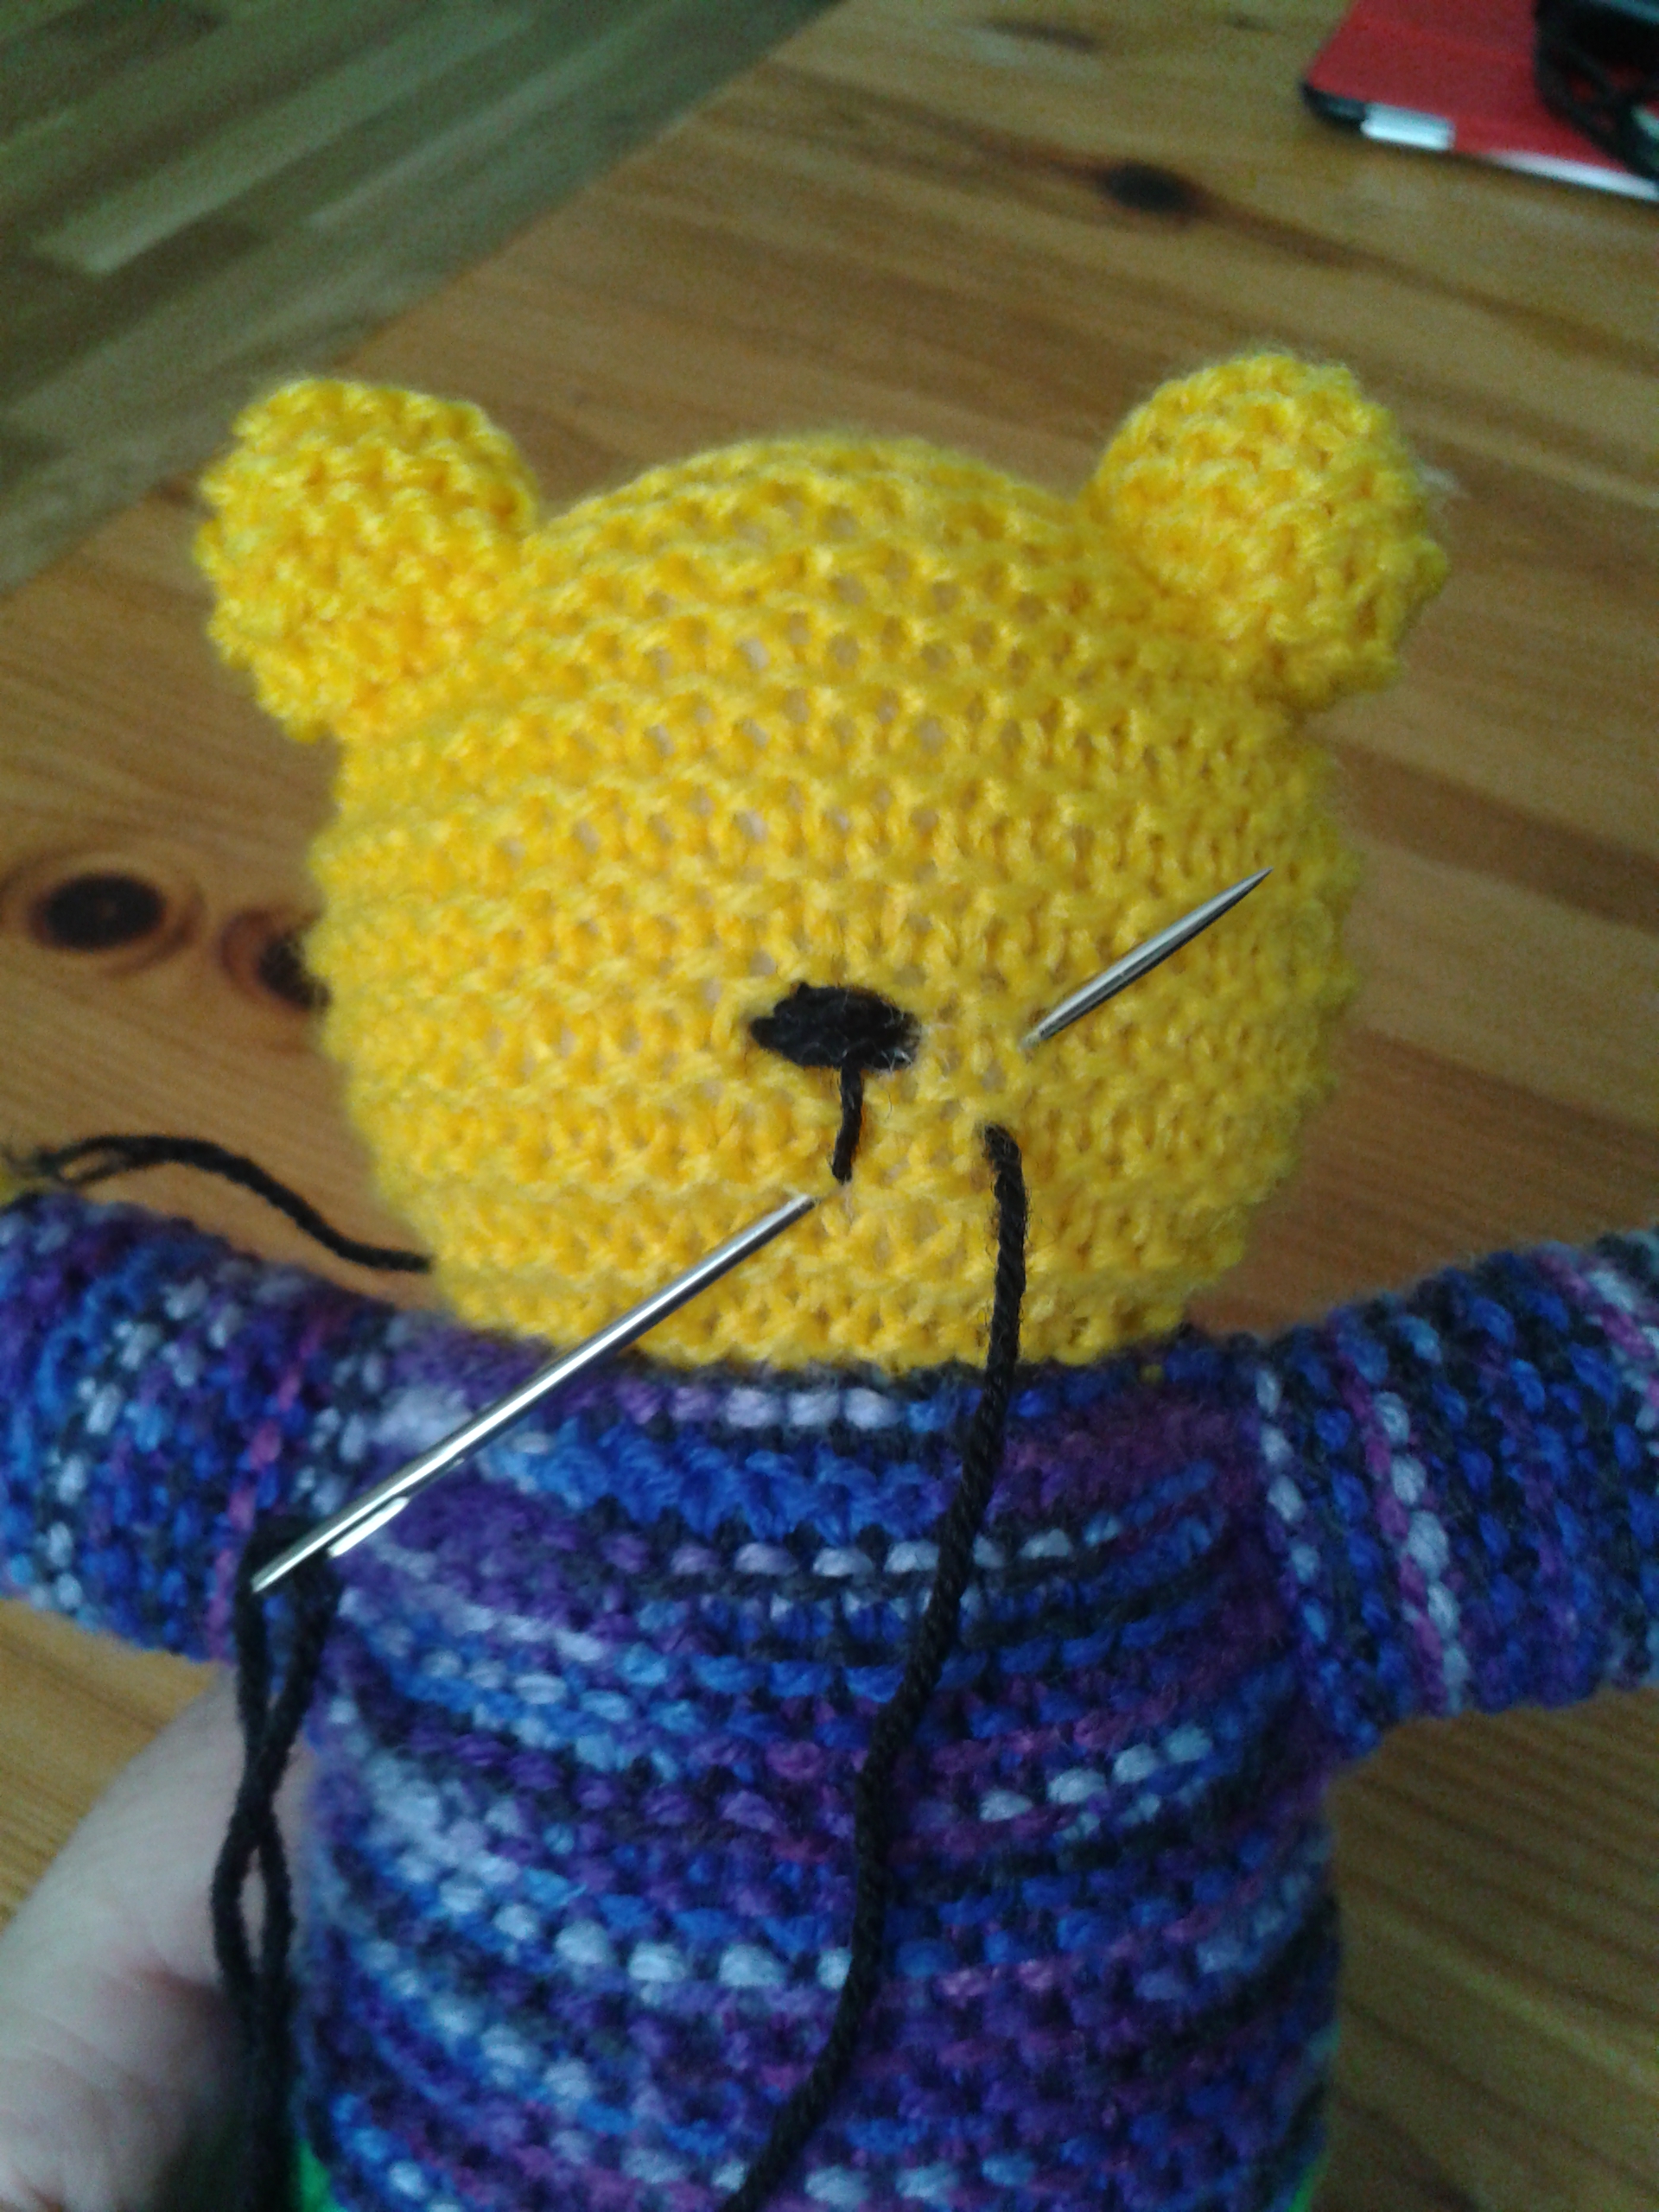
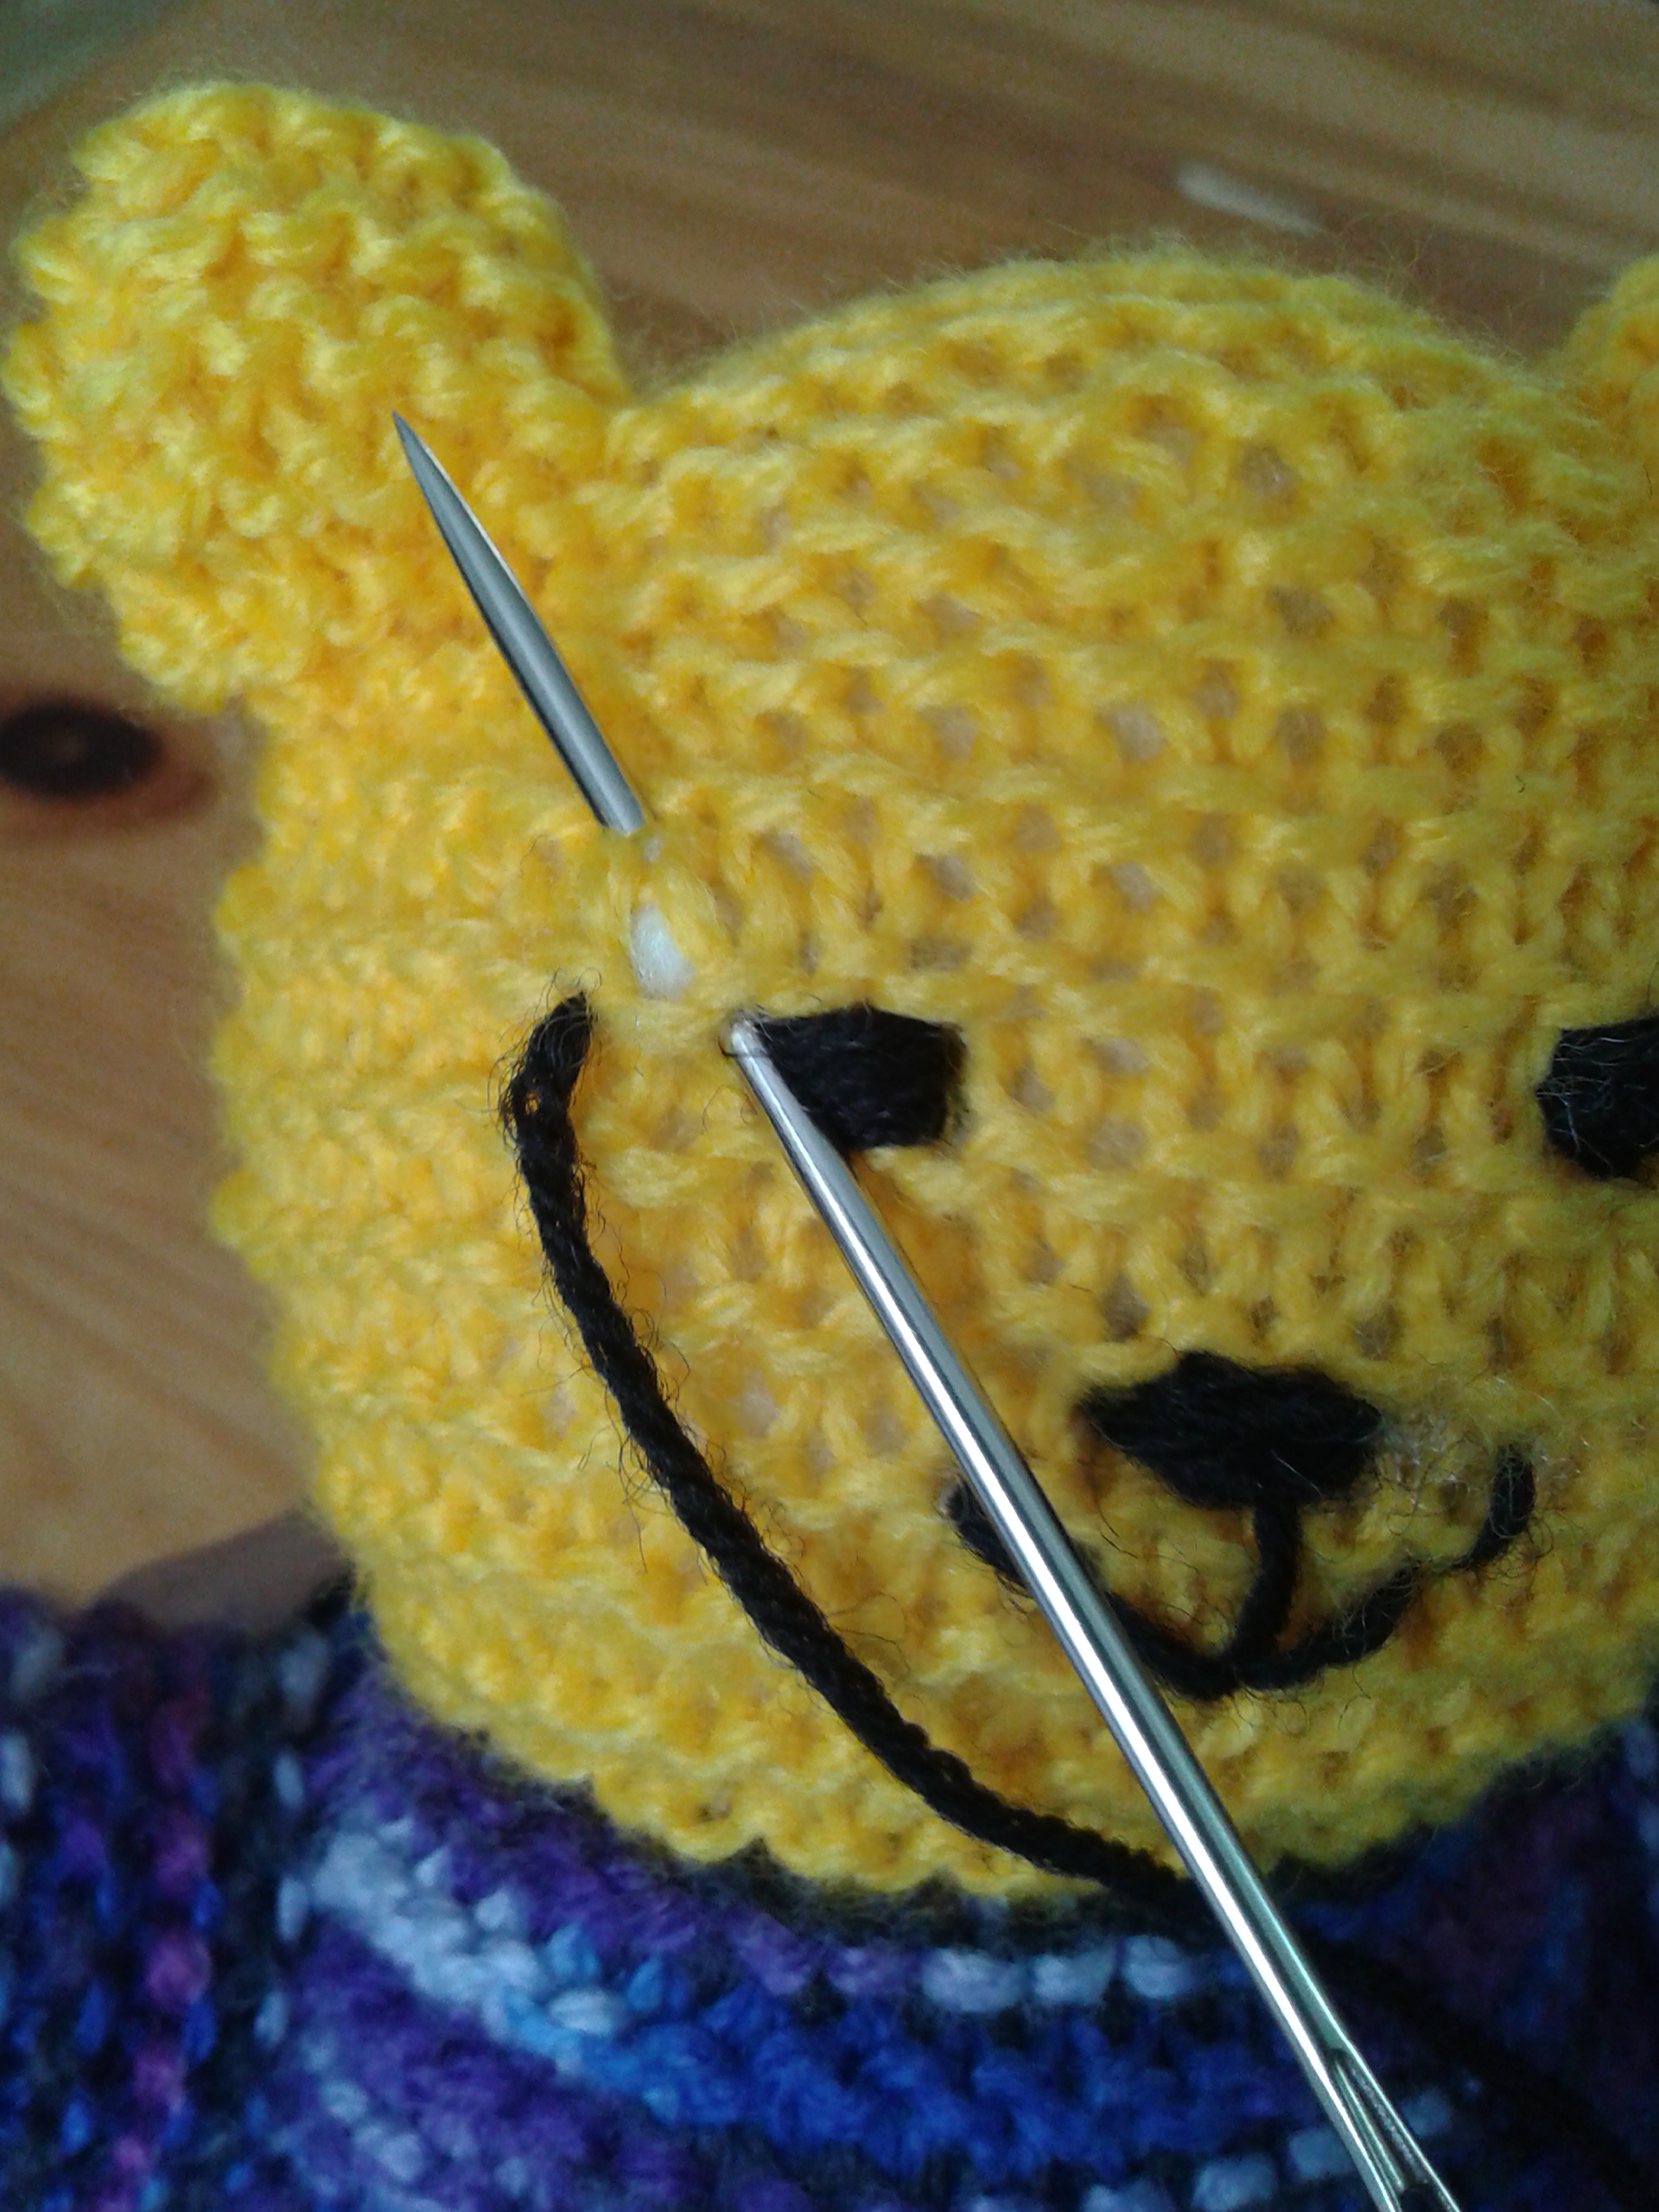
First, I enter at the back of the head.
And come out where I want the nose to be.

I then repeat this process until I’m happy with the size of the nose:


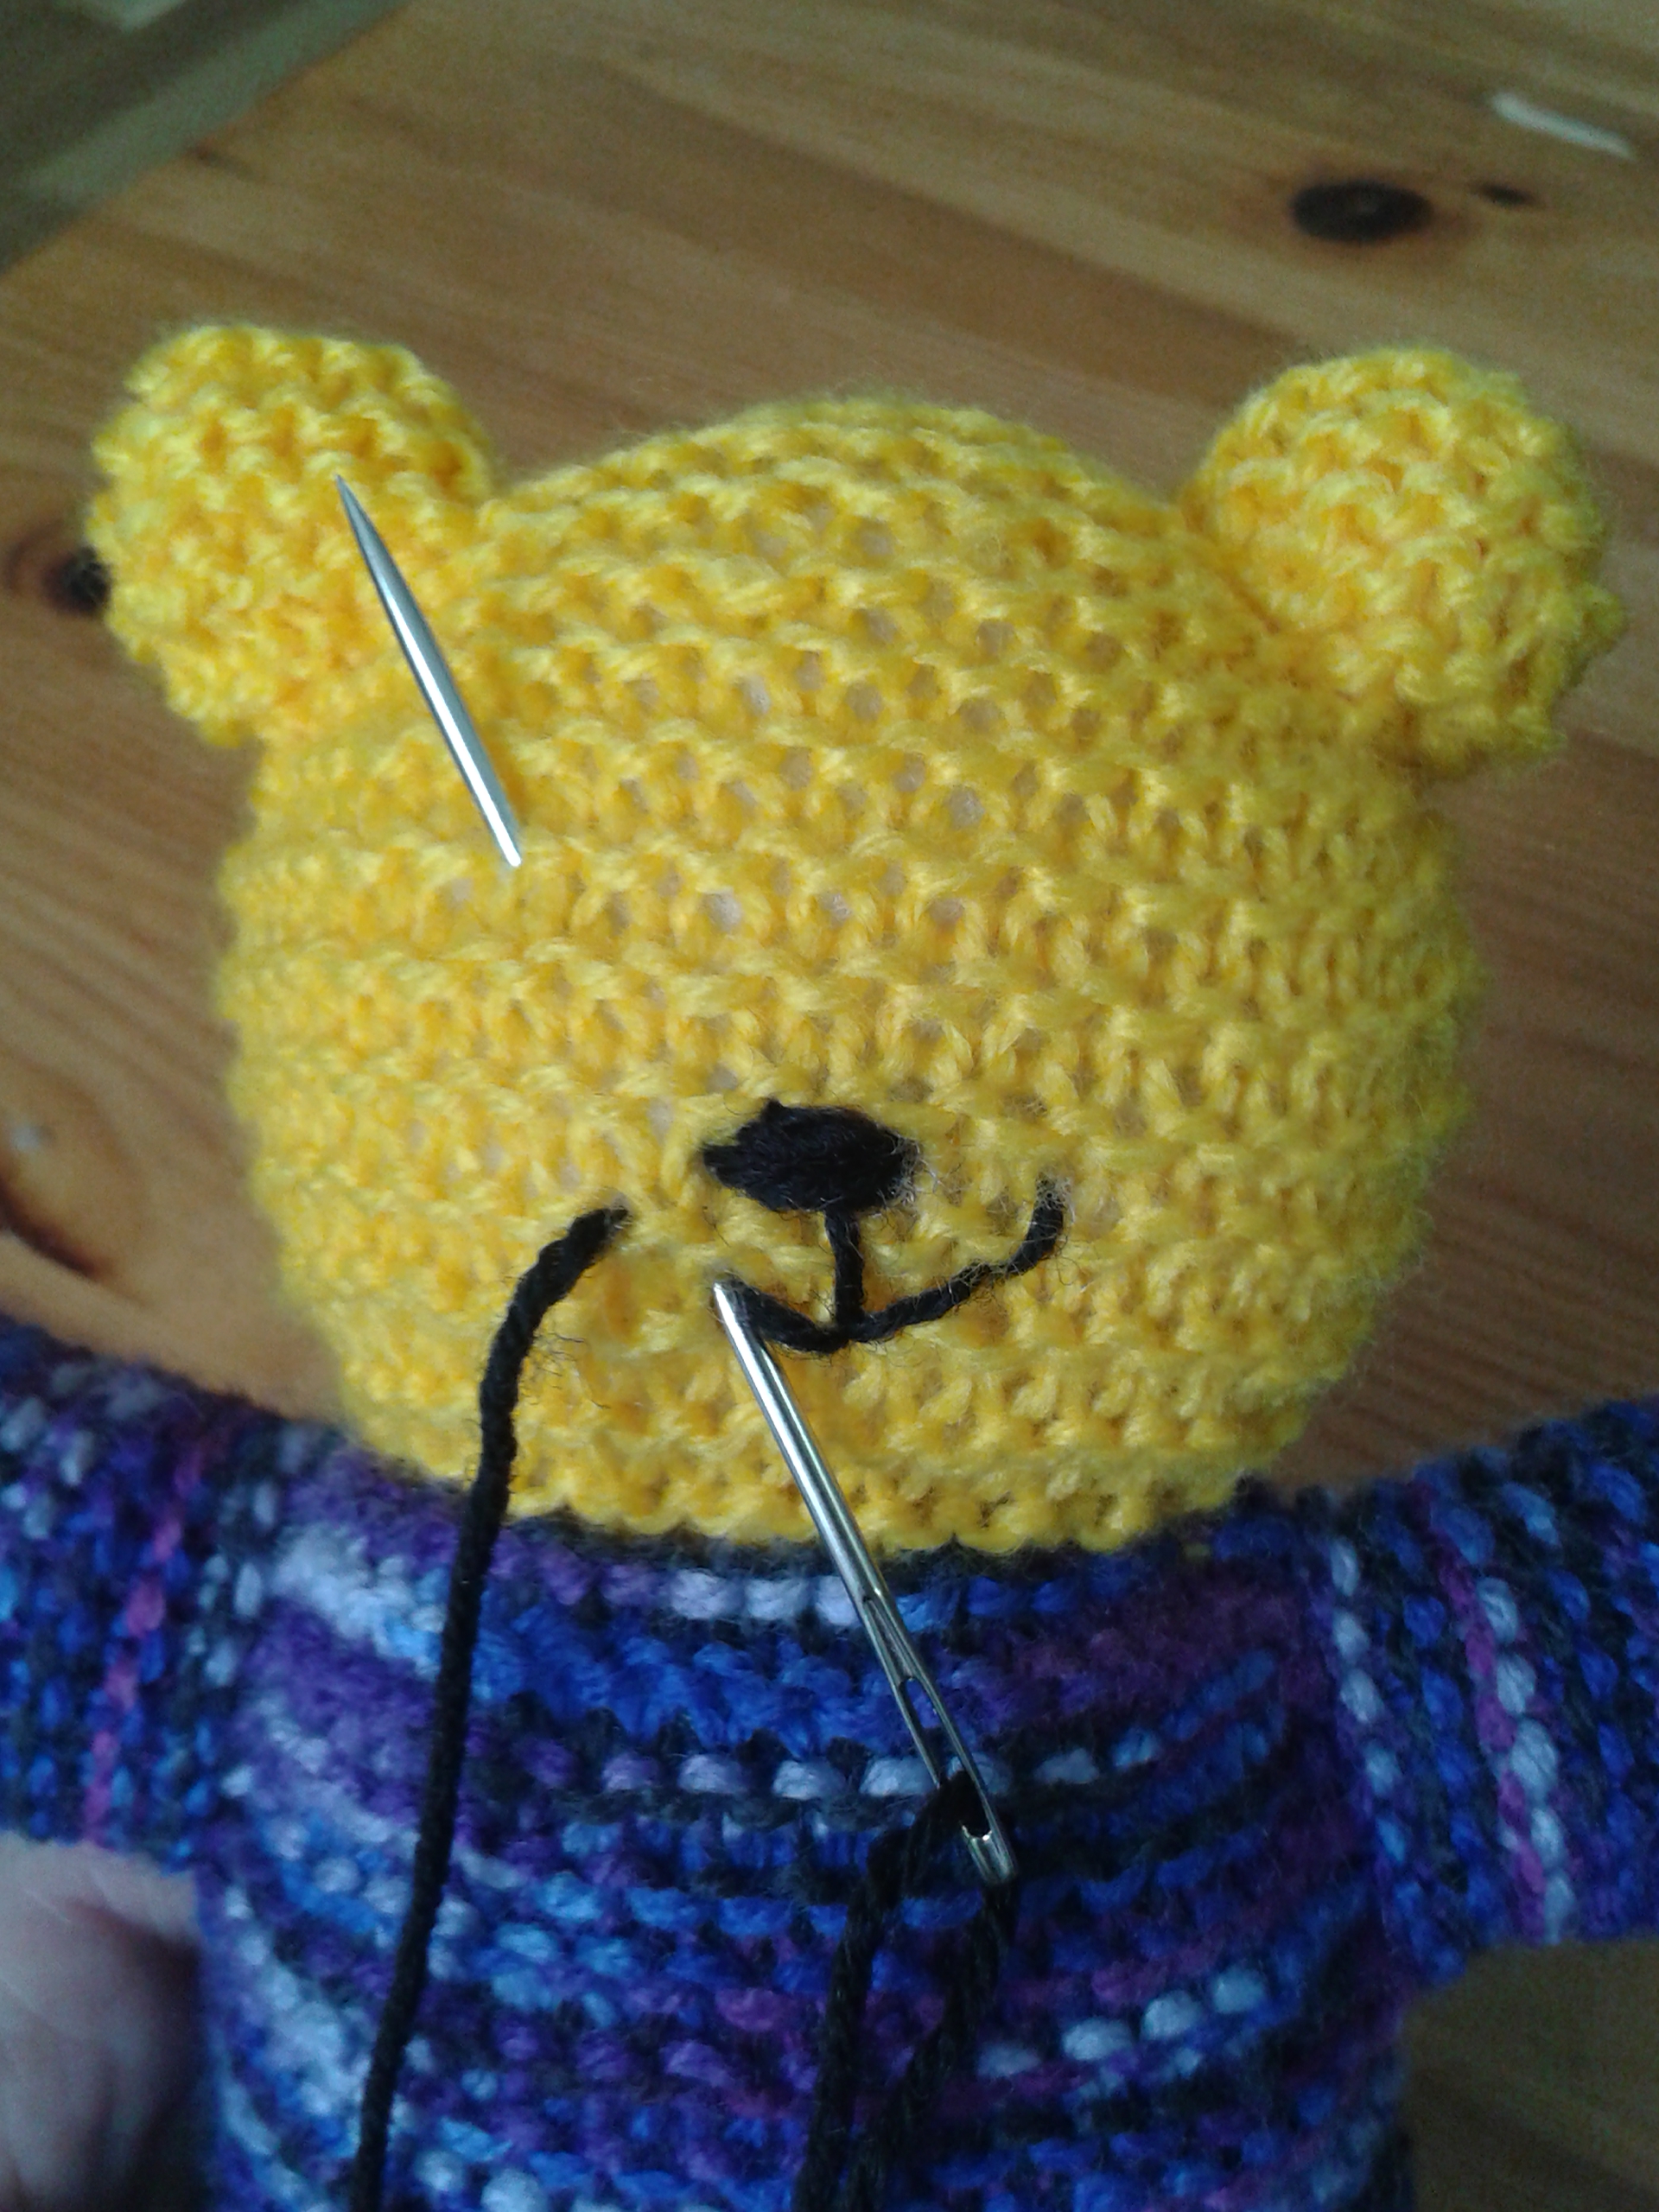
Next step is the mouth. I make it this way:


And come out where the first eye will be. I make the eyes the same way as the nose.
This particular bear happened to be a girl bear and I decided she needed eyelashes. I made them this way:


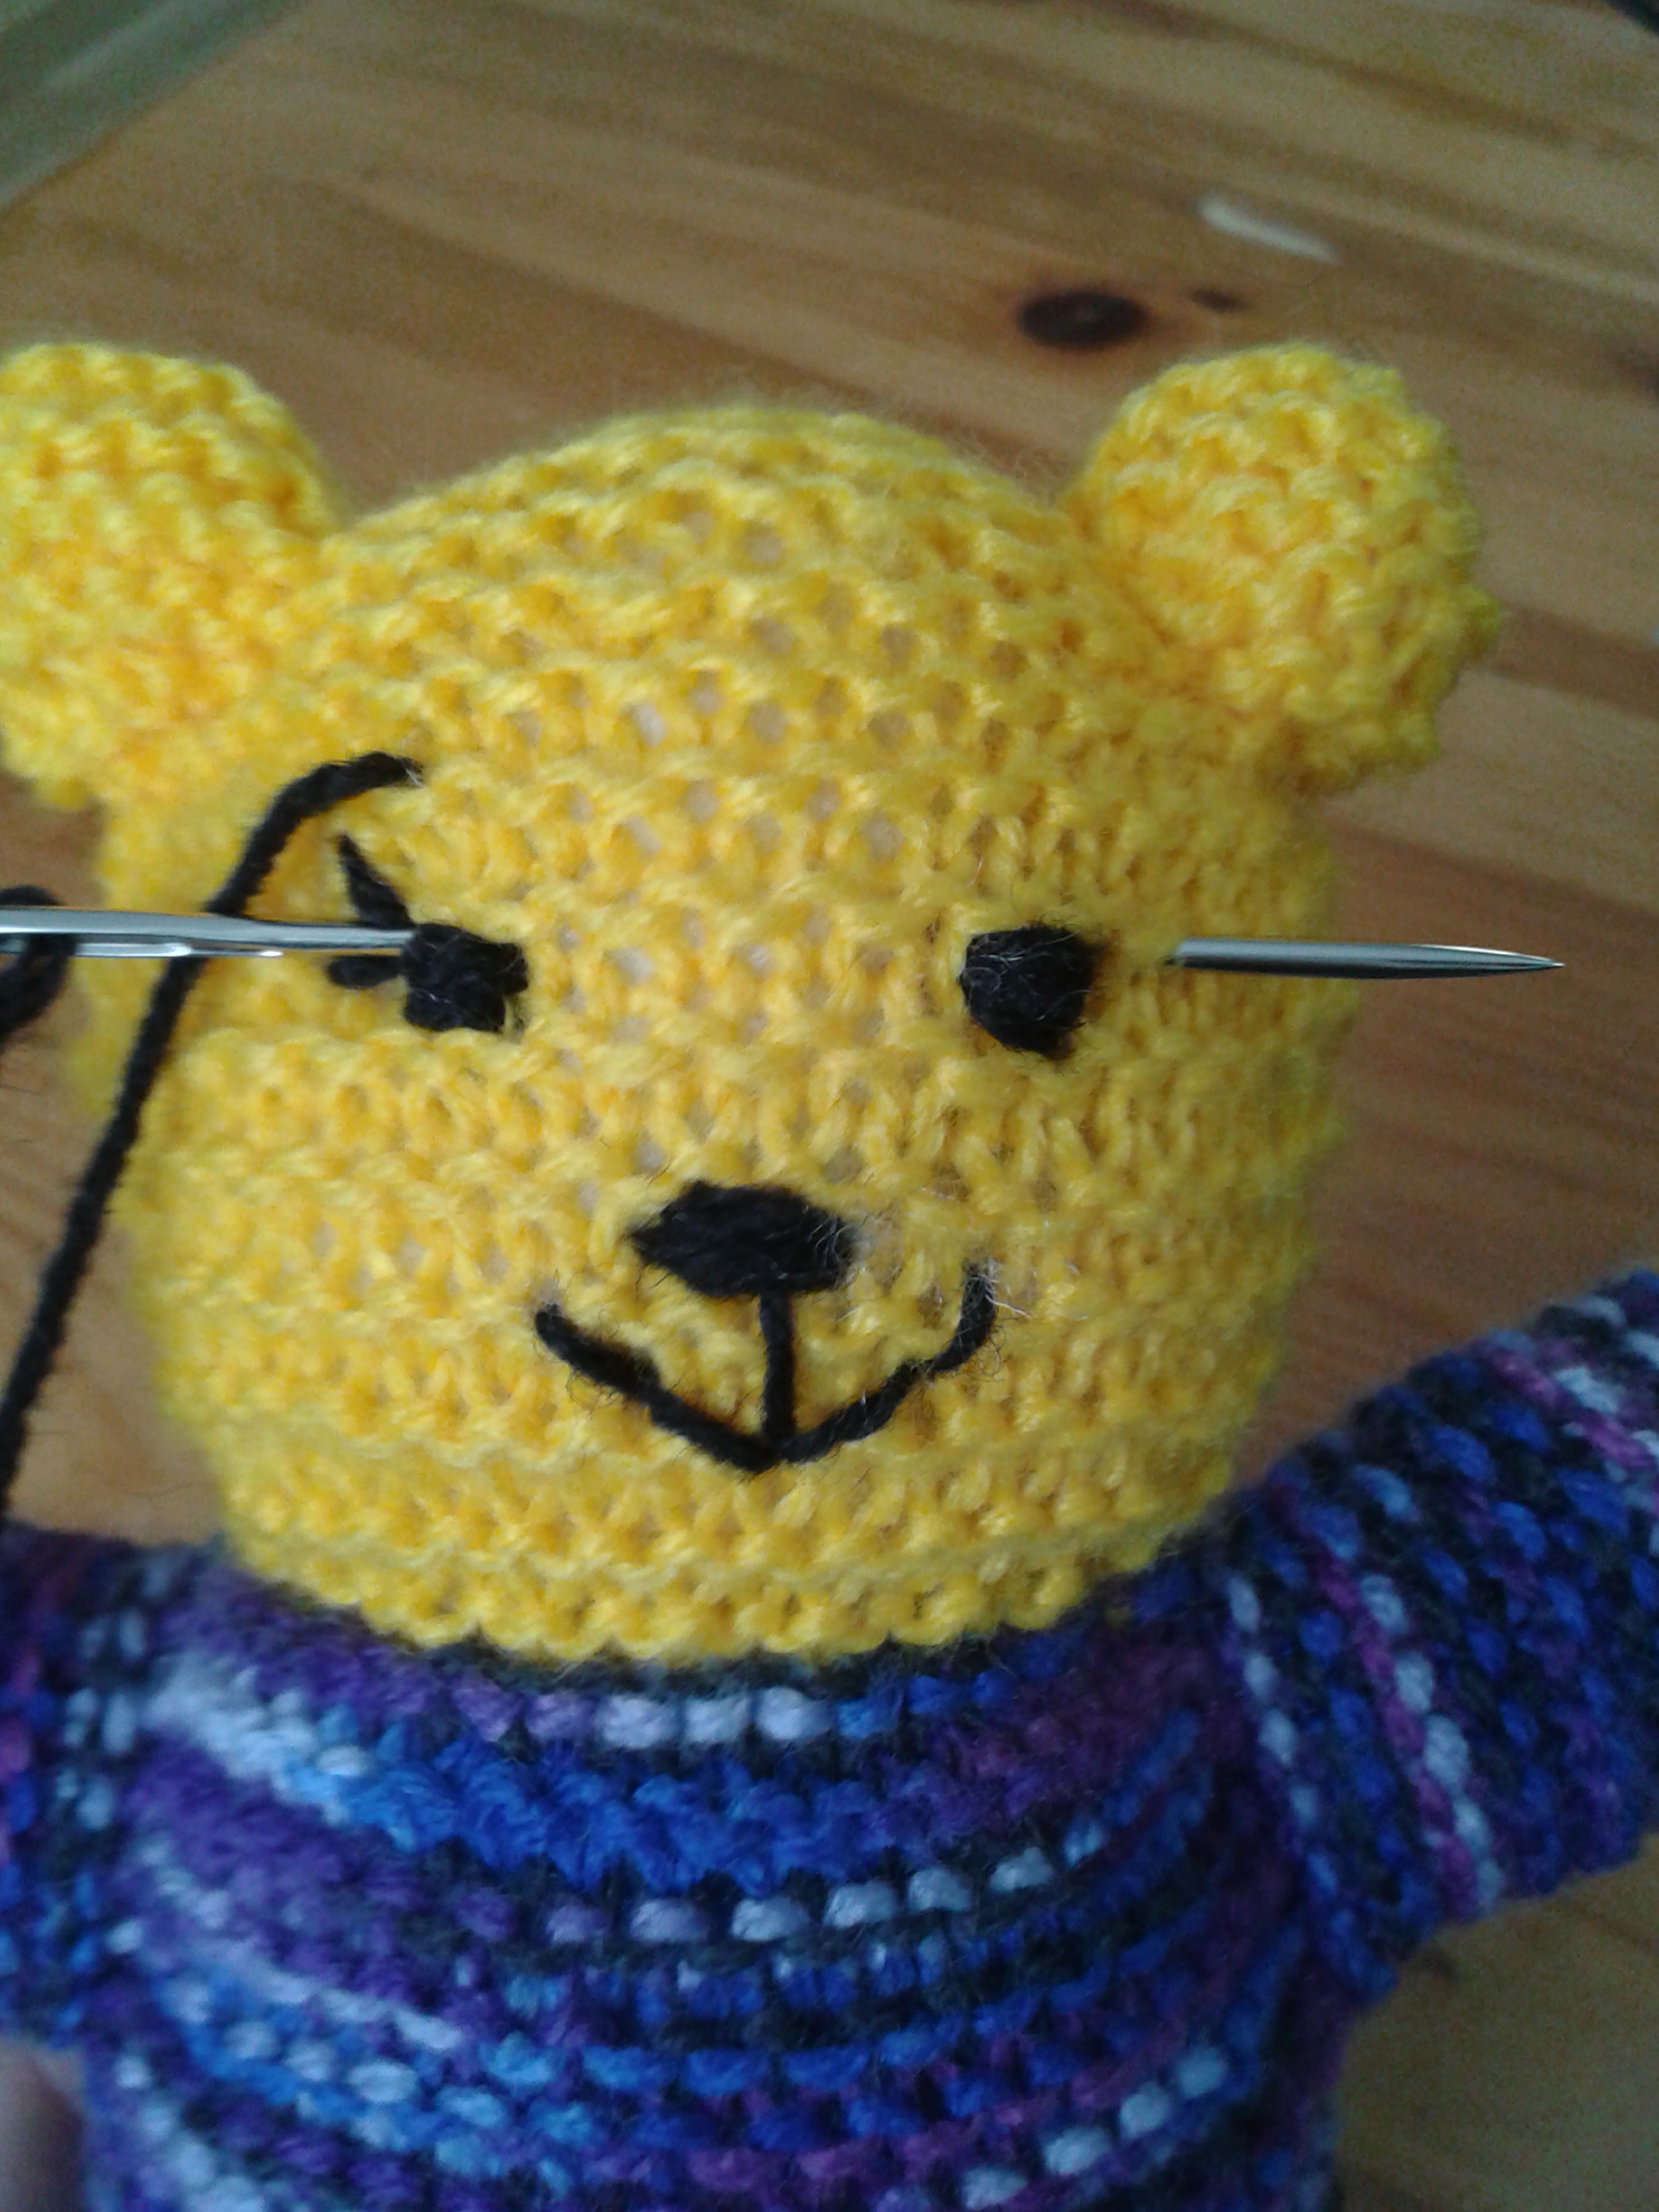
Once I made the eyelashes on the second eye, I was finished with the face. To finish, I come out in the same gap as the one I come in and then tie a knot like I do for the head and hide it inside the same way.

The finished face:

The pattern calls for a scarf, I made my girlie a very thin one (just a crochet chain) because I knew I was going to make a big bow to go in her hair and I didn’t want to distract from it. Here she is, all pimped up 🙂

And I should add that she is part of the “Yellow Gang”. Their mission in life? Bring a smile on children faces.

I hope this will be useful to someone. If you’d like to help the Mother Bear Project but cannot knit or crochet, there are several other ways to help, all listed on their website. One of them, for instance, is to sponsor a bear, how fun!


nice projects
I always love your bear faces. Your tutorial definitely helped me – I think my faces are more consistent now. I would still like rounder ears though.
What are you doing, if anything, to round them?
I watched someone’s video on YouTube (don’t remembe whose). Basically, I try to cinch them really tight and then shape with my fingers.
Do you do your bear from the top or from the bottom? You can always try and decrease on the sides near the top (if you do it bottom up) or start with a lower number of stitches and increase on the sides for the first few rows (if you do it from the top down).
The is ingenious. Thank you. I love the Mother Bear Project but haven’t found a way of making the bears that I enjoy (it’s the pesky arms and legs that get me). I’m going to give this a whirl!
Hi Christin,
Have you already checked the Ravelry Mother Bear Group I linked to at the beginning of the post? There is great advice there and it’s a great group. 🙂
Corinne
Very cute bear and I loved seeing all the pictures you took of it in the making. I need to work on the face and your photos helped.